How to Use Vegetable Scraps for Homemade Broth
Every time you peel a carrot or trim a celery stalk, you’re faced with a small decision.
Most of us don’t think much about it. The scraps go into the trash, the compost bin, or the garbage disposal, and we move on with dinner.
But those scraps often have one more useful job left to do.
Making vegetable scrap broth is one of the simplest ways to reduce food waste while getting more value from the groceries you’ve already purchased. Instead of throwing away perfectly usable vegetable trimmings, you can turn them into a flavorful homemade broth that’s useful for soups, stews, rice, beans, sauces, and countless other meals.
It doesn’t require special equipment or expensive ingredients. In fact, it’s made primarily from ingredients you’ve already paid for.
That’s the kind of habit capable households have always practiced. Not because they were trying to squeeze every last penny out of life, but because wasting useful things simply didn’t make sense.
Why Make Homemade Vegetable Broth?
Store-bought broth certainly has its place, especially on busy days. Keeping a few cartons or cans in the pantry is a practical choice.
But homemade broth offers several advantages.
- It makes use of ingredients you’ve already paid for, making it one of the least expensive homemade staples you can prepare.
- It reduces kitchen waste.
- You control the ingredients.
- It can be made without excess sodium or preservatives.
- It adds deep flavor to meals using items you already have.
Perhaps the biggest advantage is that it changes the way you look at your kitchen.
Instead of seeing scraps as garbage, you begin seeing them as another ingredient waiting to be used.
That small shift in perspective is at the heart of reducing waste.
Which Vegetable Scraps Work Best?
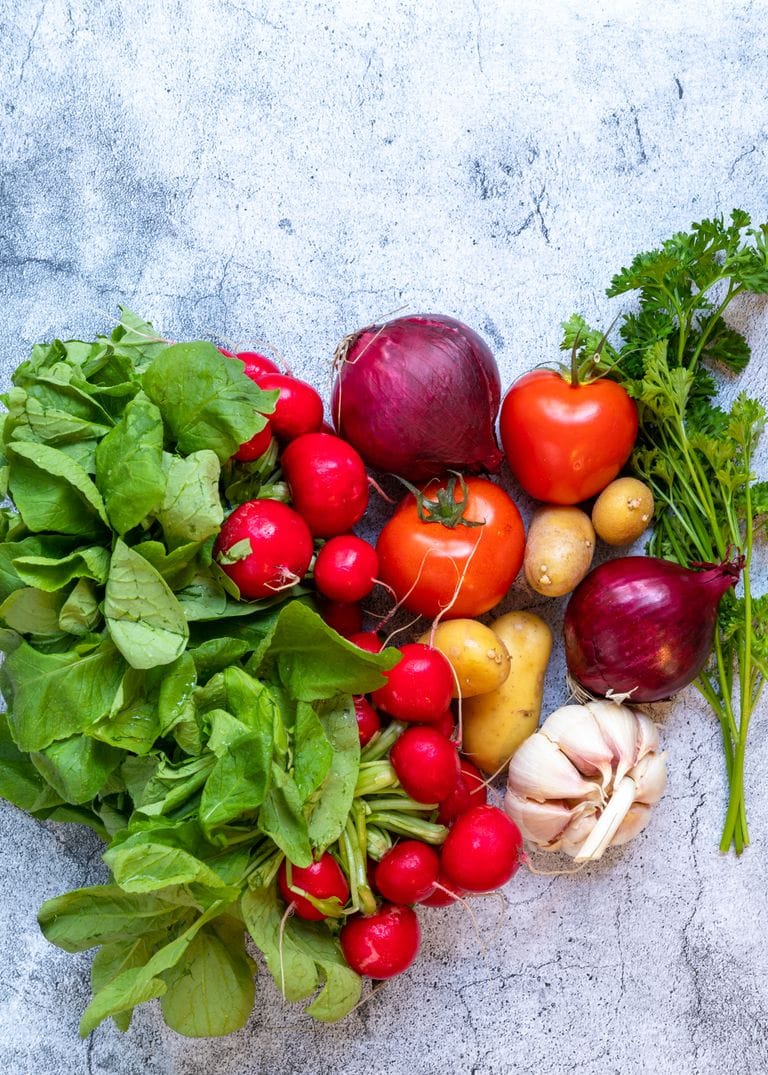
Not every vegetable belongs in broth, but many common kitchen scraps create wonderful flavor. Because you are using the outer layers, always give your vegetables a thorough wash and scrub before peeling or prepping them to help remove dirt, grit, and surface residues before they end up in your broth.
A good collection might include:
- Onion skins and ends
- Carrot peels and tops
- Celery leaves and ends
- Mushroom stems
- Garlic skins and trimmed ends
- Leek tops
- Green onion roots and tops
- Herb stems (parsley, thyme, rosemary)
- Tomato ends
- Bell pepper tops and cores (remove seeds if desired)
None of these pieces would normally end up on your dinner plate, yet they’re packed with flavor. Many of the aromatic compounds that give vegetables their flavor are found in or just beneath the peel, making these trimmings especially useful for broth.
Scraps to Use Carefully
Some vegetables can overpower a broth if used in large amounts.
Use only small amounts of:
- Broccoli stems
- Cauliflower leaves
- Brussels sprout trimmings
- Cabbage
These brassicas can create a strong, sulfurous flavor, especially if they’re used in large quantities or simmered for a long time.
Vegetable Scraps to Avoid
Some scraps simply don’t make good broth.
Skip:
- Potato peels (can make broth cloudy and starchy, and some people find they add an earthy or slightly bitter flavor)
- Sweet potato peels
- Beets (unless you want a bright red broth)
- Large amounts of spinach or lettuce
- Moldy, slimy, or spoiled vegetables
- Anything seasoned, buttered, or cooked with oils
Remember, broth concentrates flavor. If an ingredient tastes unpleasant or bitter on its own, it usually won’t improve after simmering.
Do You Need Organic Vegetables?
No.
You don’t need organic vegetables to make a delicious homemade broth. The most important step is washing your produce thoroughly before peeling or trimming it. Whether your vegetables are homegrown, conventionally grown, or organic, taking a few moments to clean them well helps ensure a better-tasting broth.
Start a Freezer Scrap Bag
One of the easiest systems is keeping a one-gallon freezer-safe bag or container specifically for broth vegetables in your freezer.
Each time you prepare vegetables, simply add suitable scraps to the bag instead of throwing them away. Before long, you’ll have a full gallon of scraps—which is the perfect amount for a standard batch of broth—without making any extra trips to the grocery store.
If you happen to prepare a large amount of one vegetable at once, avoid filling the entire bag with just that ingredient. A variety of vegetables produces a more balanced, flavorful broth.
Freezing the scraps also prevents spoilage, allowing you to build a collection over several weeks. Label the bag so everyone in the household knows its purpose. Simple systems usually work better than complicated ones.
How to Make Homemade Vegetable Broth
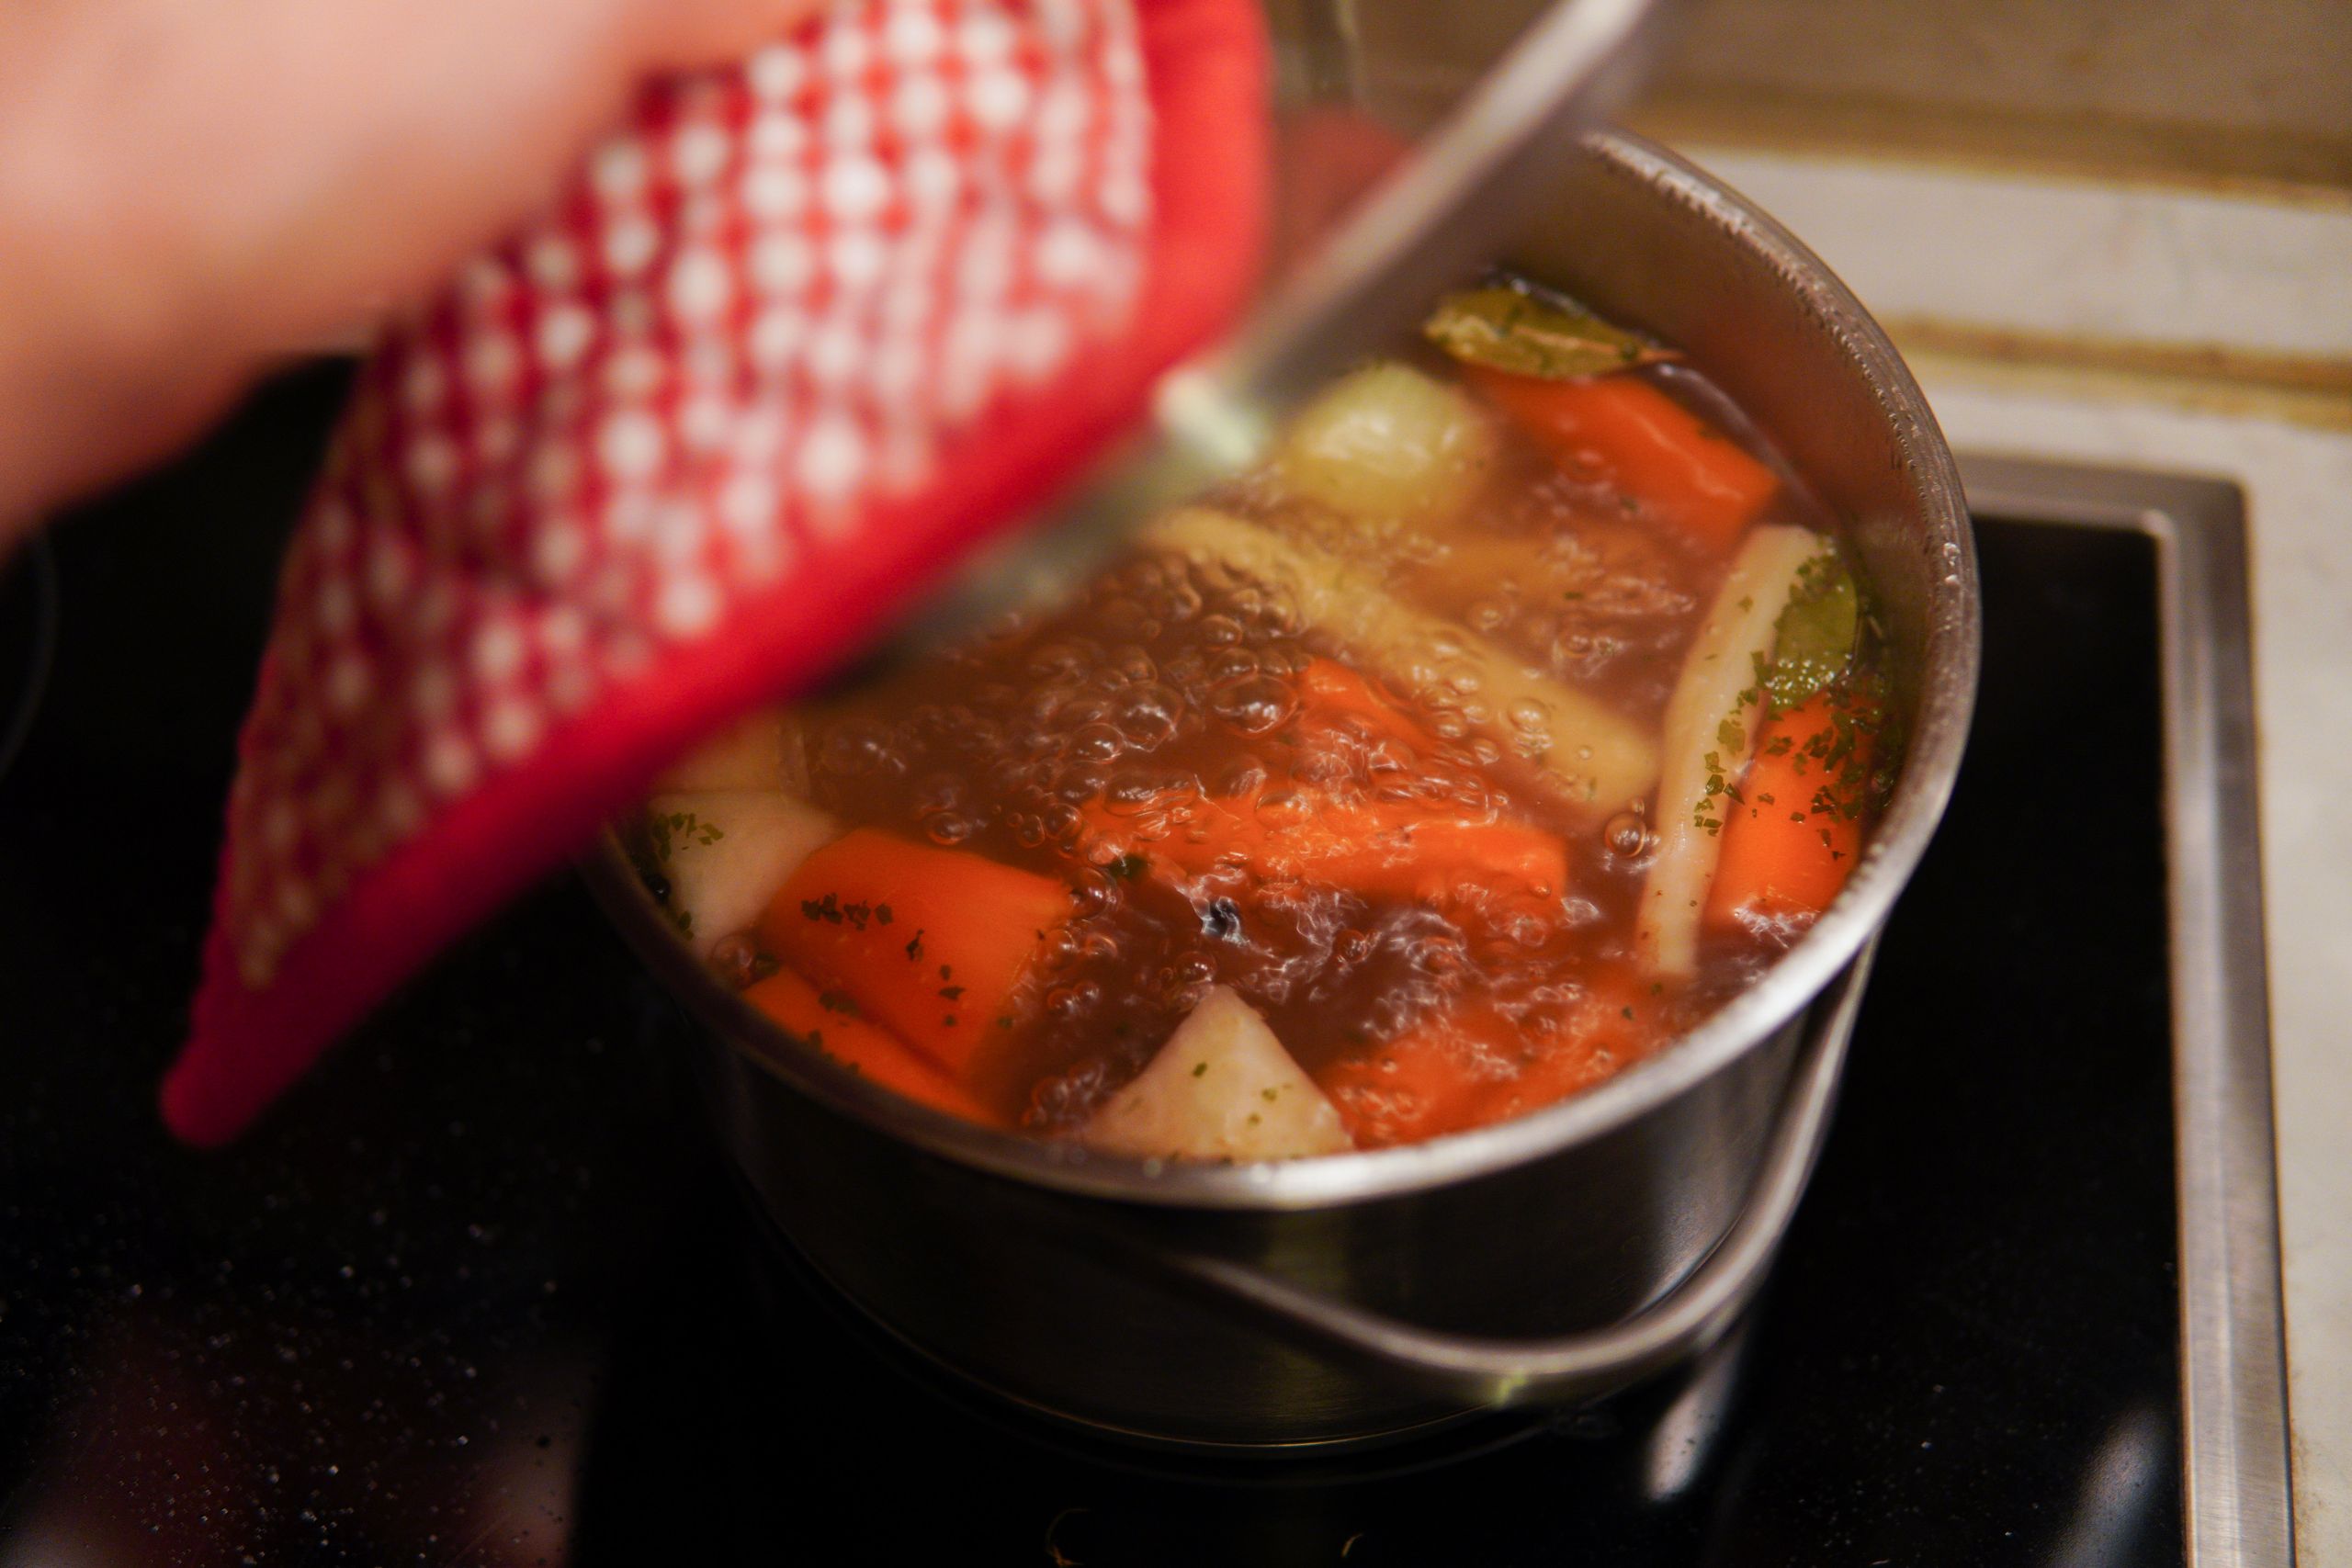
Once your one-gallon freezer bag is full, making broth is remarkably easy. Empty the frozen vegetable scraps into a large stockpot (a 6- to 8-quart pot works best).
Add:
- Cold water: Just enough to cover the vegetables (about 10 to 12 cups)
- 2–3 bay leaves
- 1 teaspoon whole peppercorns
- A few sprigs of fresh or dried herbs, if desired (such as thyme or parsley)
The Cooking Process
- Bring everything to a gentle boil over medium-high heat.
- Reduce the heat to low as soon as it reaches a boil, and simmer, uncovered, for about 45 minutes to 1 hour.
- Strain the liquid through a fine-mesh colander into a large bowl when finished. Discard the spent cooked scraps into your compost pile if you have one.
- Allow the broth to cool completely before storing.
Why simmer instead of boil?
A rolling boil can produce a muddier flavor and may draw out bitterness from some vegetables. A gentle simmer extracts flavor more gradually, creating a cleaner, fresher-tasting broth.
Likewise, resist the urge to simmer vegetable broth for several hours. Unlike meat stocks, vegetable broth reaches its best flavor relatively quickly and can become bitter if cooked too long.
How to Store Homemade Broth
Homemade broth stores beautifully in several ways.
In the refrigerator:
- Store in airtight jars or containers for up to 4 days.
In the freezer:
- Store for up to 3 months.
- Safety Tip: If you are freezing broth in glass jars, leave at least one inch of headspace at the top. Liquid expands as it freezes, and leaving too little room can crack the glass.
- Alternatively, freeze broth in silicone molds, ice cube trays, or muffin tins. Once frozen solid, transfer the cubes to a freezer bag. This allows you to thaw exactly what a recipe requires, whether it’s a single cup for soup or a few cubes to deglaze a pan.
Ways to Use Homemade Broth
Once you begin making your own broth, you’ll probably find yourself reaching for it more often than expected.
Use it for:
- Homemade soups and stews
- Cooking rice, quinoa, or barley (replacing plain water adds incredible depth of flavor)
- Cooking dried beans
- Gravies and pan sauces
- Mashed potatoes
- Braising winter greens or seasonal vegetables
Even replacing a splash of water with broth in simple, everyday recipes can noticeably improve flavor.
Common Mistakes to Avoid
A few small mistakes can make broth less enjoyable.
Avoid:
- Using unwashed or spoiled vegetables.
- Adding too much cabbage, broccoli, or turnip trimmings.
- Simmering for hours on end.
- Adding salt while cooking: Leave the broth unsalted while it simmers. Since you’ll likely use it in different recipes later, it’s much easier to season the finished dish than to work around an overly salty broth.
- Filling the pot with too many dominant herbs.
Simple ingredients usually create the best flavor.
A Small Habit That Changes How You See Waste
Making broth won’t eliminate your grocery bill.
It won’t transform your kitchen overnight.
What it does is teach a different way of thinking.
Instead of asking, “What can I throw away?” you begin asking, “Is there still value here?”
That’s a question worth carrying beyond the cutting board.
A household becomes more capable one practical habit at a time. Saving vegetable scraps won’t make headlines, but over the course of a year, it can save money, reduce waste, and help you make better use of the food you’ve already brought home.
Those aren’t dramatic changes.
They’re simply the kind that last.
And that’s often how the best household habits begin—not with buying something new, but by learning to use what you already have a little more wisely.
Where to Go Next
Making homemade broth is a simple way to get every bit of value from the vegetables you bring into your kitchen. But what about the food you haven’t used yet?
Learning a few basic food preservation methods can help you keep fresh ingredients from becoming scraps in the first place. Whether you’re freezing garden vegetables, dehydrating herbs, or learning the basics of canning, preserving food extends your harvest, reduces waste, and helps you build a more resilient pantry.
Continue reading: Beginner’s Guide to Food Preservation Methods to discover which preservation methods are best for beginners and how to choose the right one for the foods you have on hand.
Join the Porch Sitters
A house becomes a home through the small things we choose to learn, make, repair, grow, and pass along. Those skills don’t disappear overnight, and they won’t return overnight either. They come back one season, once project, and one meal at a time.
That’s what the Porch Sitters are all about.
Each edition of The Front Porch brings practical homesteading skills, seasonal guidance, thoughtful encouragement, and new resources to help you build a more capable household. No clutter. No chasing every trend. Just timeless knowledge that still has a place in modern life.
If that sounds like the kind of home you’re building, we’d be glad to save you a seat.
Rediscover the skills that turn a house into a home.