How to Organize a Pantry So Food Doesn’t Go to Waste
If you want to organize a pantry so food doesn’t go to waste, it helps to understand where food waste really begins.
Most people assume food waste begins when something spoils.
It doesn’t.
Food waste usually begins much earlier—when we lose track of what we already have.
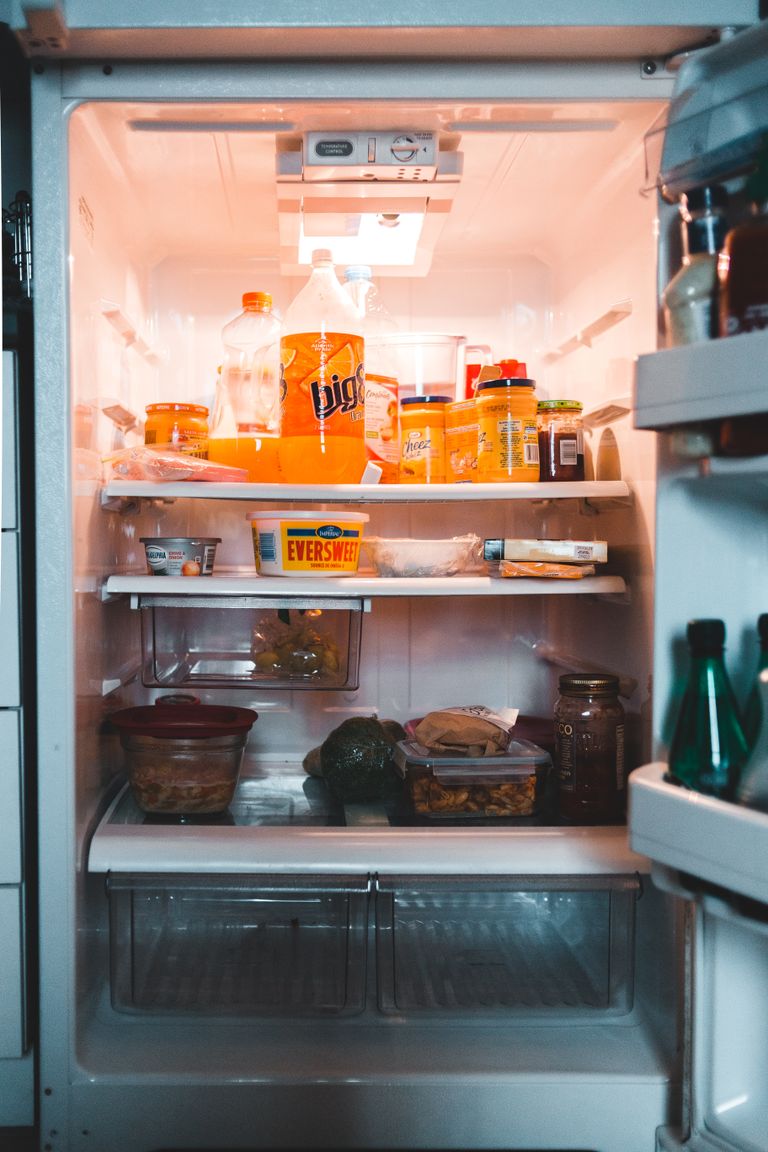
A can of soup disappears behind newer purchases. Rice gets buried beneath snacks. Three bottles of barbecue sauce quietly collect dust while you’re convinced you’re out of olive oil. Before long, another grocery trip fills the same shelves with more of what was already there.
The problem isn’t usually a lack of storage. It’s a lack of visibility.
A well-organized pantry isn’t about matching containers, expensive labels, or picture-perfect shelves that look good for a social media post. It’s about creating a system that helps you use the food you’ve already paid for before buying more.
Earlier generations understood this because they had to. Replacing wasted food wasn’t convenient, and grocery budgets left little room for carelessness. Today, food is easier to replace, but it’s certainly no cheaper. A pantry that works well is one of the simplest ways to reduce waste, lower grocery bills, and make everyday cooking less stressful.
The Pantry First Method: Stop Buying Food You Already Have
Fortunately, organizing a pantry doesn’t require buying anything fancy. It simply requires giving every item a purpose—and every shelf a job.
Why Pantry Organization Matters
An organized pantry helps you:
- Reduce food waste
- Spend less at the grocery store
- Plan meals more easily
- Avoid buying duplicates
- Rotate older food before it expires
- Find ingredients quickly while cooking
- Keep your emergency food supply accurate
In other words, organization isn’t about neatness. It’s about making better decisions with the resources you already have.
How to Reduce Food Waste Without Feeling Deprived
Ready to cut down on waste? Clear off your kitchen counters, grab a few boxes or laundry baskets for sorting, and let’s dive into the process.
The 10-Step Pantry Reset
Step 1: Empty Everything
It can be tempting to reorganize one shelf at a time.
Don’t.
Take everything out. Yes, all of it.
Seeing every item in one place makes it much easier to recognize duplicates, expired food, forgotten purchases, and supplies you didn’t realize you still had.
As you empty the pantry, separate items into four groups:
- Keep
- Donate (if unopened and still safe)
- Throw Away (expired or unsafe food)
- Relocate (items that belong somewhere else)
This gives you a fresh start instead of trying to organize around existing clutter.
Step 2: Check Expiration Dates
Many households discover food that expired years ago hiding in the back of the pantry. That’s not unusual—it simply means your pantry has stopped working for you.
Check dates on everything. Remember that many “Best By” dates refer to peak quality rather than food safety, but anything that is damaged, leaking, swollen, or clearly spoiled should be discarded immediately.
The goal isn’t perfection; the goal is knowing what you actually have.
Step 3: Group Similar Foods Together
Imagine someone else had to cook dinner in your kitchen. Would they know where to find anything?
Grouping similar foods creates consistency and saves time every single day.
Consider categories such as:
- Canned vegetables and fruit
- Soups and beans
- Pasta, rice, and grains
- Baking supplies
- Breakfast foods and snacks
- Oils, vinegars, sauces, and condiments
- Spices, seasonings, coffee, and tea
Once categories have a permanent home, everyone in the household knows where things belong.
Step 4: Give Every Shelf a Purpose
Rather than storing food wherever it fits, assign each shelf a specific role based on accessibility.
When similar items always return to the same place, putting away groceries becomes faster and finding ingredients becomes almost automatic. The easier something is to see, the more likely it is to be used.
| Shelf Level | Best Suited For | Examples |
|---|---|---|
| Top Shelf | Less frequent & lightweight items | Baking supplies, specialty ingredients, holiday items |
| Eye-Level | Everyday staples (High visibility) | Grains, pasta, frequently used canned goods, quick snacks |
| Lower Shelves | Heavy, bulk, or pet items | Bulk rice, flour, small appliances, large pet food bags |
Step 5: Practice FIFO Rotation
Professional kitchens rely on a simple system called FIFO: First In, First Out.
Whenever you buy groceries, make it a habit to move older food to the front and place newer food behind it.
That’s it.
This one small habit prevents an incredible amount of unnecessary waste. You don’t need complicated inventory software; you simply need yesterday’s groceries where you’ll see them before today’s.
Step 6: Create an “Eat Me First” Section
Some foods deserve their own spotlight.
Designate one small basket, tray, or shelf area for foods that should be used soon.
Examples include:
- Nearly expired canned goods
- Open packages or crackers beginning to lose freshness
- Pasta with only one serving left
- Produce that should be cooked within a few days
When planning meals or packing lunches, check this section first.
Create an Eat-Me-First System That Actually Works
Step 7: Store Food in the Right Containers
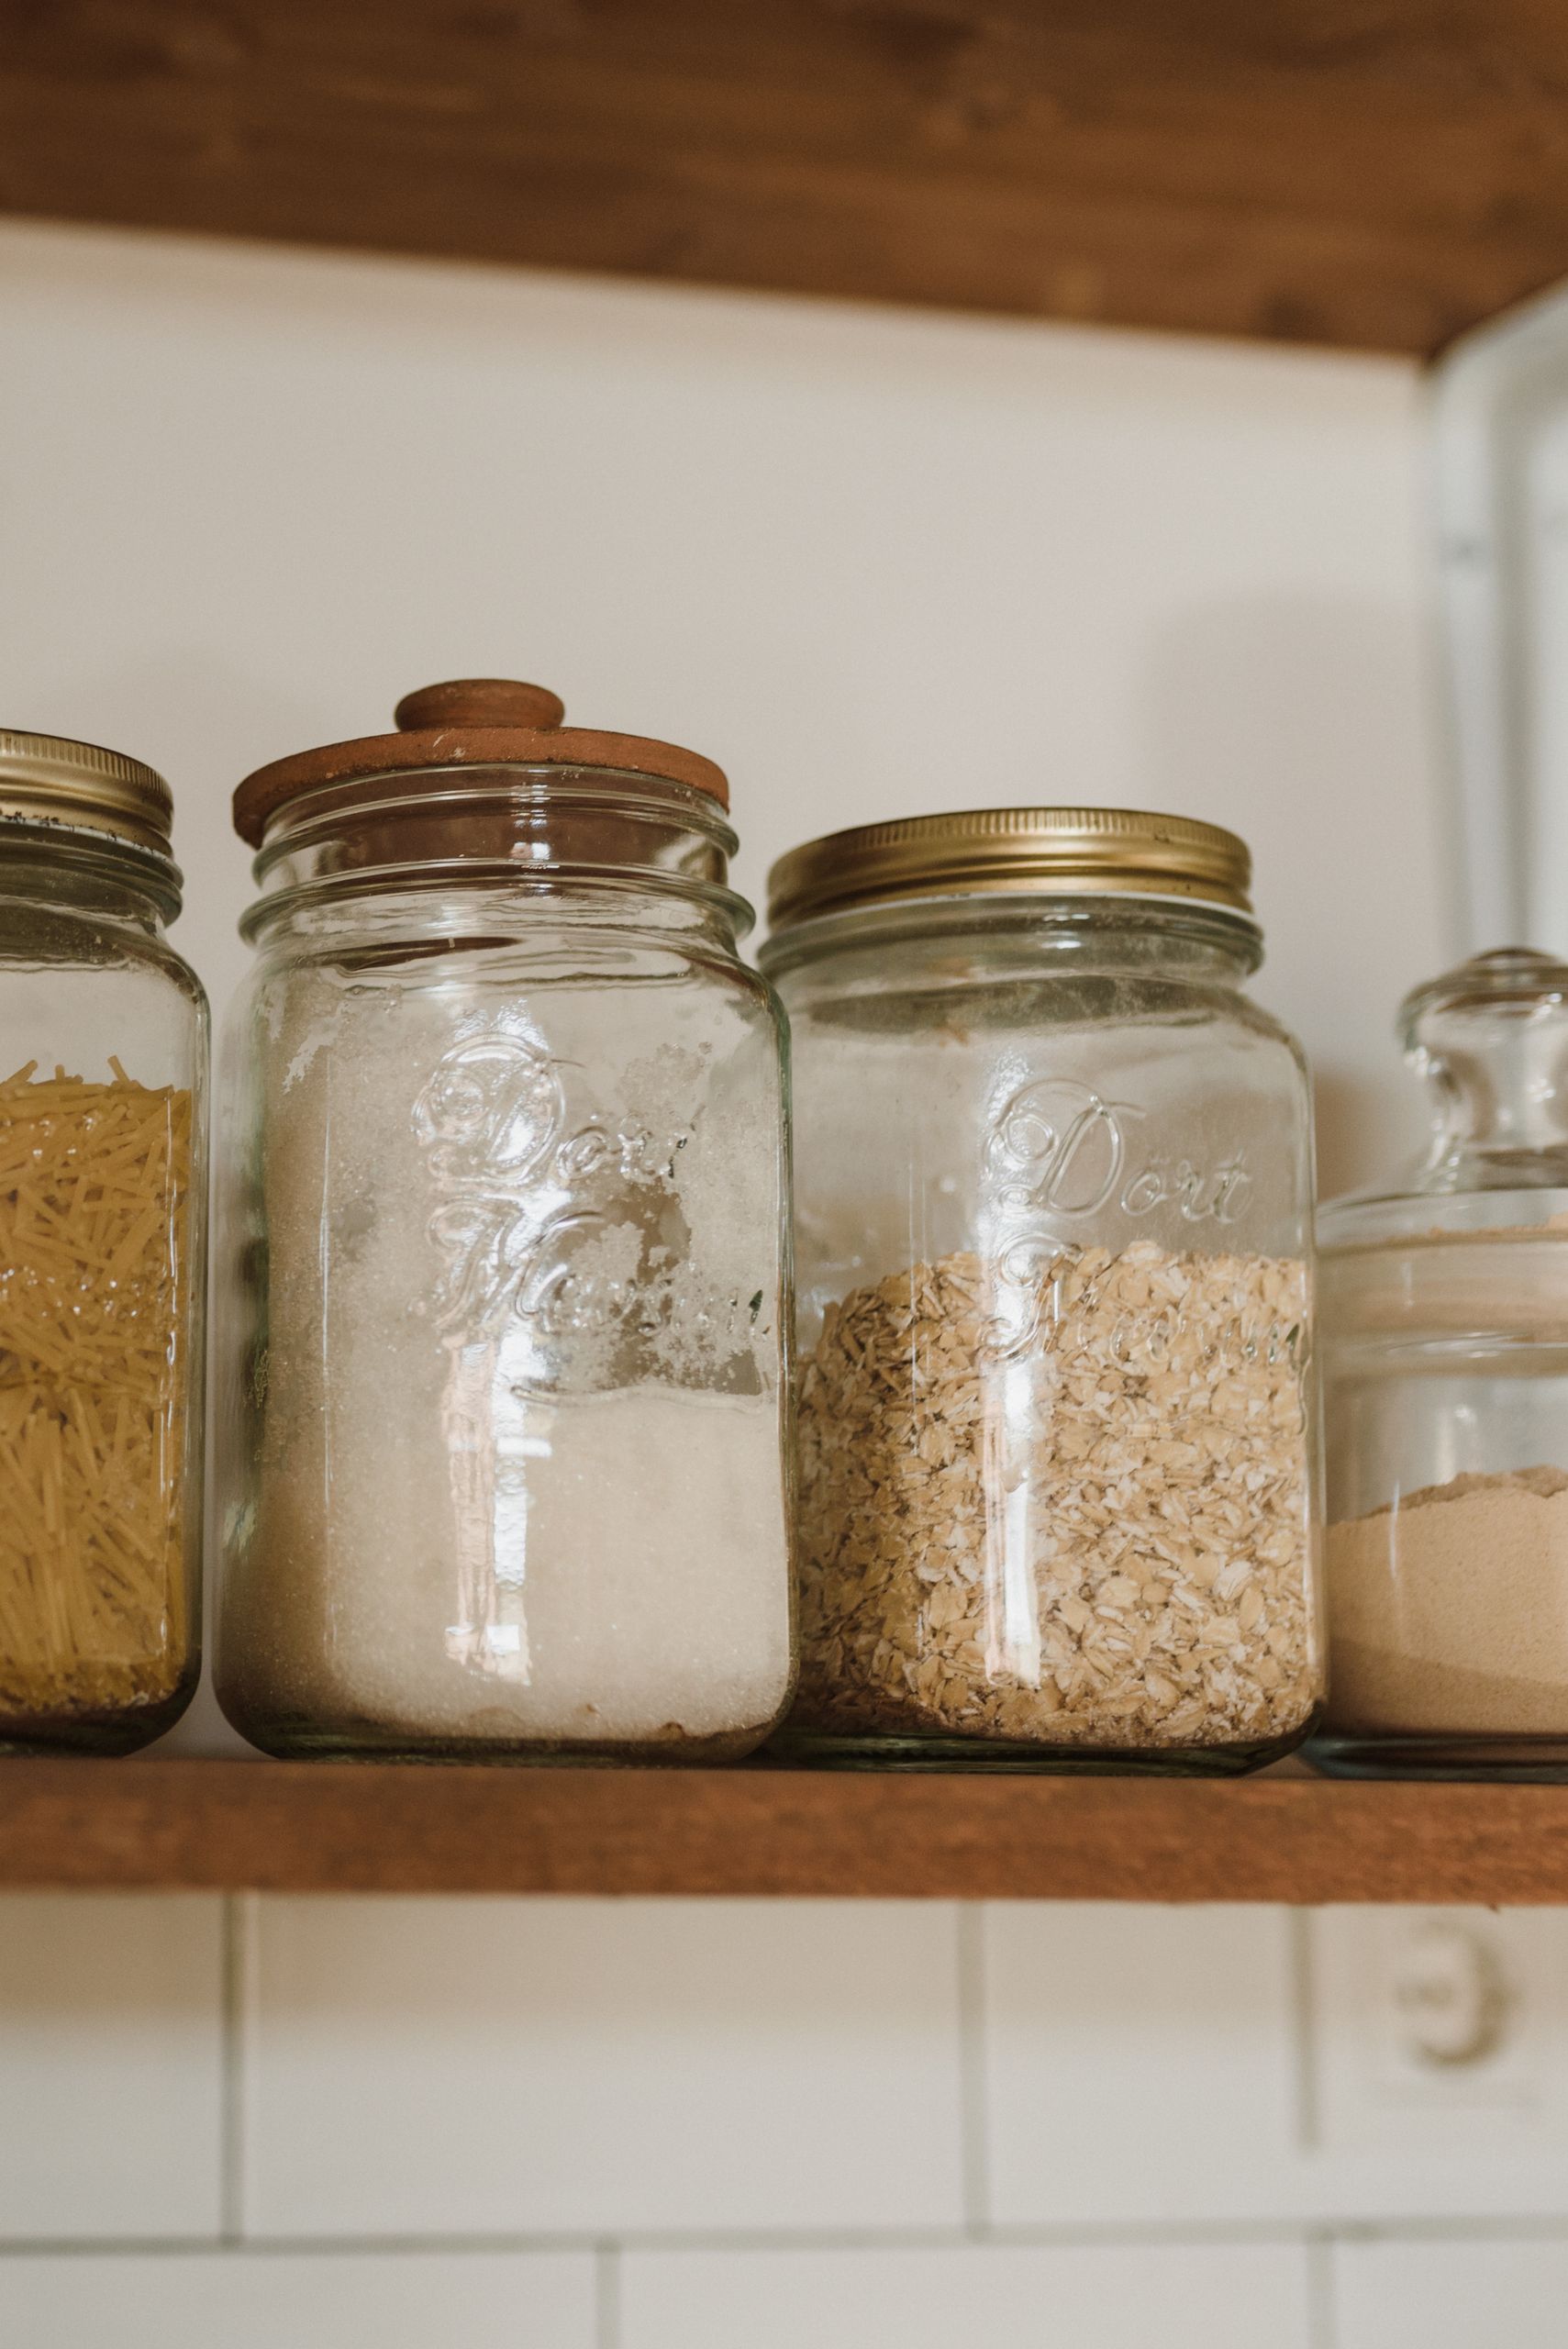
Not every package is designed for long-term storage. Items such as flour, sugar, oats, rice, and dry beans often stay fresher longer in airtight containers.
That doesn’t mean you need to buy an expensive matching set. Glass jars, food-grade buckets, or sturdy reusable containers work just as well.
The goal is protecting food—not impressing visitors with matching containers.
Step 8: Label Clearly
If you transfer food into another container, always label it. Include the food name and the best-by date if helpful. Future you will appreciate not having to guess whether that white powder is flour, powdered sugar, or cornstarch.
Step 9: Keep a Running Inventory of Bulk Supplies
You don’t need to list every single can of green beans, but for larger food storage, keeping a simple inventory can save both money and frustration.
Track foundational items like flour, rice, pasta, sugar, dry beans, canned meat, and cooking oil. Whether you keep the list on paper, on your phone, or attached to the pantry door doesn’t matter nearly as much as keeping it updated. The best inventory system is the one you’ll actually use.
Knowing what’s on hand makes meal planning easier and helps prevent unnecessary shopping trips.
Step 10: Schedule Regular Pantry Checkups
Even the best-organized pantry won’t stay that way forever. Set aside ten or fifteen minutes once each month to:
- Check expiration dates and rotate older food forward
- Update your bulk inventory
- Wipe down shelves
- Add low-stock items to your grocery list
Old-Fashioned Kitchen Habits That Save Money Today
Common Pantry Organization Mistakes
Avoid these habits that quietly lead to wasted food:
- Buying in bulk without a definitive plan to use it
- Hiding older food behind newer purchases
- Storing unrelated items together
- Keeping foods where they’re difficult to see or reach
- Forgetting opened packages
- Purchasing duplicates because you didn’t check the pantry first
- Treating pantry organization as a one-time project instead of an ongoing habit
Final Thoughts
A capable pantry isn’t measured by how many shelves it has or how attractive it looks. It’s measured by how well it supports the people who depend on it.
When you know what you have, use what you buy, and keep food moving instead of forgetting it, waste naturally begins to disappear. Grocery shopping becomes more intentional. Meal planning becomes simpler. And the money you once threw away with spoiled food stays where it belongs.
That’s the real purpose of organization.
Not perfection.
Stewardship.
If you’re trying to build a household that wastes less and works better, your pantry is one of the best places to start.
Stewardship isn’t built during one weekend of organizing. It’s built every time you choose to use what you already have before buying more.
What’s Next?
A well-organized pantry helps you waste less because you know what you have and can use it before it spoils. But even the best pantry has limits. Some foods simply won’t keep forever.
The next step is learning how to preserve food so it stays useful long after harvest season or the weekly grocery trip.
In Beginner’s Guide to Food Preservation Methods, you’ll learn the strengths of canning, freezing, dehydrating, and fermenting so you can choose the preservation methods that best fit your household and continue building a kitchen that wastes less and works better.
Join the Porch Sitters
A house becomes a home through the small things we choose to learn, make, repair, grow, and pass along. Those skills don’t disappear overnight, and they won’t return overnight either. They come back one season, once project, and one meal at a time.
That’s what the Porch Sitters are all about.
Each edition of The Front Porch brings practical homesteading skills, seasonal guidance, thoughtful encouragement, and new resources to help you build a more capable household. No clutter. No chasing every trend. Just timeless knowledge that still has a place in modern life.
If that sounds like the kind of home you’re building, we’d be glad to save you a seat.
Rediscover the skills that turn a house into a home.