Browns VS. Greens: The Secret to Successful Compost
If you’ve ever tried composting only to end up with a smelly pile of mush—or a heap that seems to sit unchanged for months—the problem usually isn’t your compost bin.
More often than not, it comes down to one simple concept: balancing your browns and your greens.
Understanding the difference between these two components is the secret to creating healthy compost that breaks down efficiently, smells like rich earth, and transforms household waste into dark, nutrient-rich soil.
The best part? It’s much simpler than it sounds
Quick Answer: What’s the Right Brown-to-Green Ratio?
For most home compost piles, aim for approximately 2–3 parts brown material for every 1 part green material.
- If your compost smells bad or becomes slimy, add more browns.
- If your compost isn’t breaking down, add more greens and a little moisture.
- Don’t stress about perfect measurements—composting is surprisingly forgiving.
My First Composting Mistake
Like many beginners, I assumed composting was as simple as tossing kitchen scraps into a pile and waiting for nature to do the rest.
For a few weeks, everything seemed fine.
Then the pile became wet, compacted, and developed an odor that could only be described as “something died back there.”
The problem wasn’t the food scraps.
The problem was that I wasn’t adding enough carbon-rich material to balance all that nitrogen.
A few buckets of shredded cardboard and dry leaves solved the issue almost overnight.
That experience taught me the most important lesson in composting: every successful compost pile depends on balancing browns and greens.
What Are Browns and Greens?
When composters talk about “browns” and “greens,” they aren’t referring to the color of the material.
Instead, they’re describing the primary nutrient each material contributes to the compost pile.
Think of your compost pile as a living ecosystem.
The microscopic organisms responsible for decomposition require both carbon for energy and nitrogen for growth.
Browns: Carbon-Rich Materials
Browns provide carbon, which acts as fuel for the beneficial microbes breaking down organic matter.
Brown materials are typically:
- Dry
- Brittle
- Slow to decompose on their own
Common examples include:
- Dry leaves
- Pine needles
- Straw
- Shredded cardboard
- Paper egg cartons
- Toilet paper tubes
- Paper towels and napkins
- Non-glossy paper
- Wood chips
- Untreated sawdust
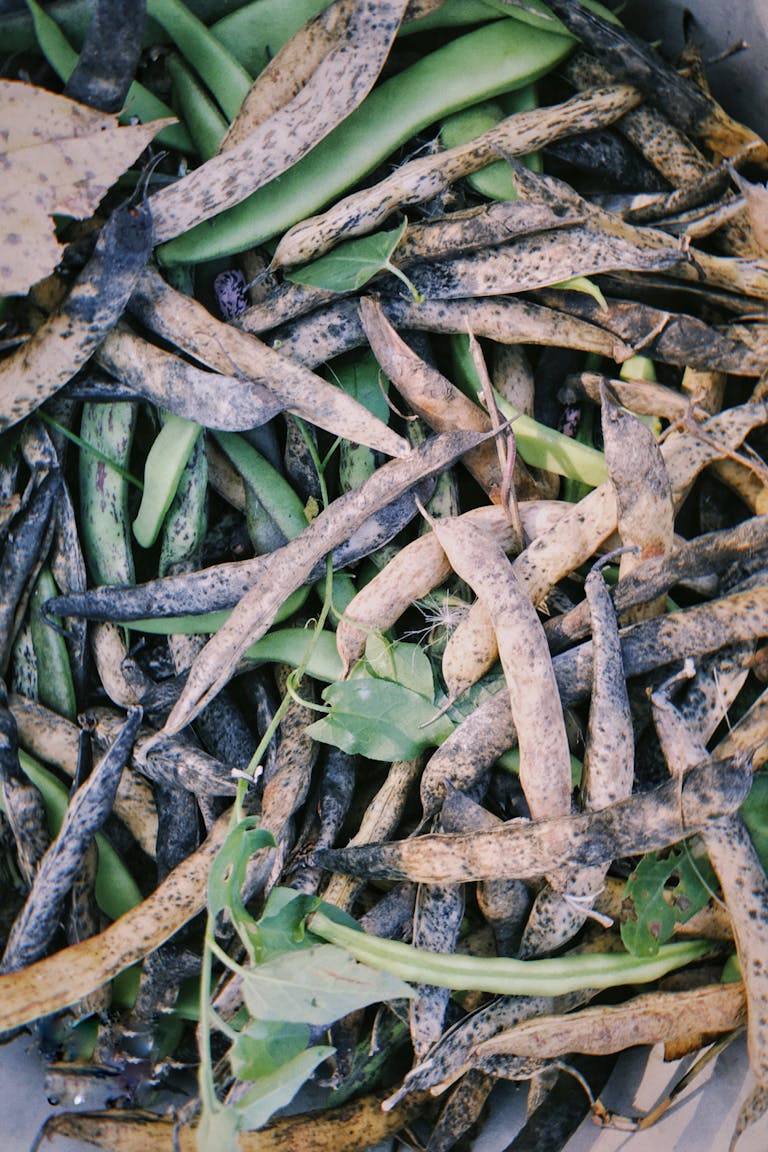
Greens: Nitrogen-Rich Materials
Greens provide nitrogen, which helps microorganisms grow and multiply.
Green materials are usually:
- Moist
- Fresh
- Quick to decompose
Common examples include:
- Fruit scraps
- Vegetable scraps
- Coffee grounds
- Coffee filters
- Plastic-free tea bags
- Fresh grass clippings
- Green garden trimmings
- Weeds that haven’t gone to seed
- Herbivore manure
The Everyday Homestead Scrap Cheat Sheet
Use this quick-reference guide whenever you’re unsure where something belongs.
| Browns (Carbon / Energy) | Greens (Nitrogen / Growth) | Neutral Amendments |
|---|---|---|
| Dry leaves & pine needles | Fruit & vegetable scraps | Crushed eggshells – add calcium but little carbon or nitrogen |
| Straw or hay | Coffee grounds & paper filters | |
| Shredded cardboard boxes | Tea bags (plastic-free) | Wood ash – provides minerals but should be used sparingly |
| Paper egg cartons | Fresh grass clippings | |
| Toilet paper tubes | Green garden trimmings | |
| Paper towels & napkins | Weeds that haven’t gone to seed | |
| Untreated sawdust | Herbivore manure |
Why Balance Matters
Microbes are living workers.
Like any workforce, they need the right resources to stay productive.
Too much of one material and not enough of another can quickly cause problems.
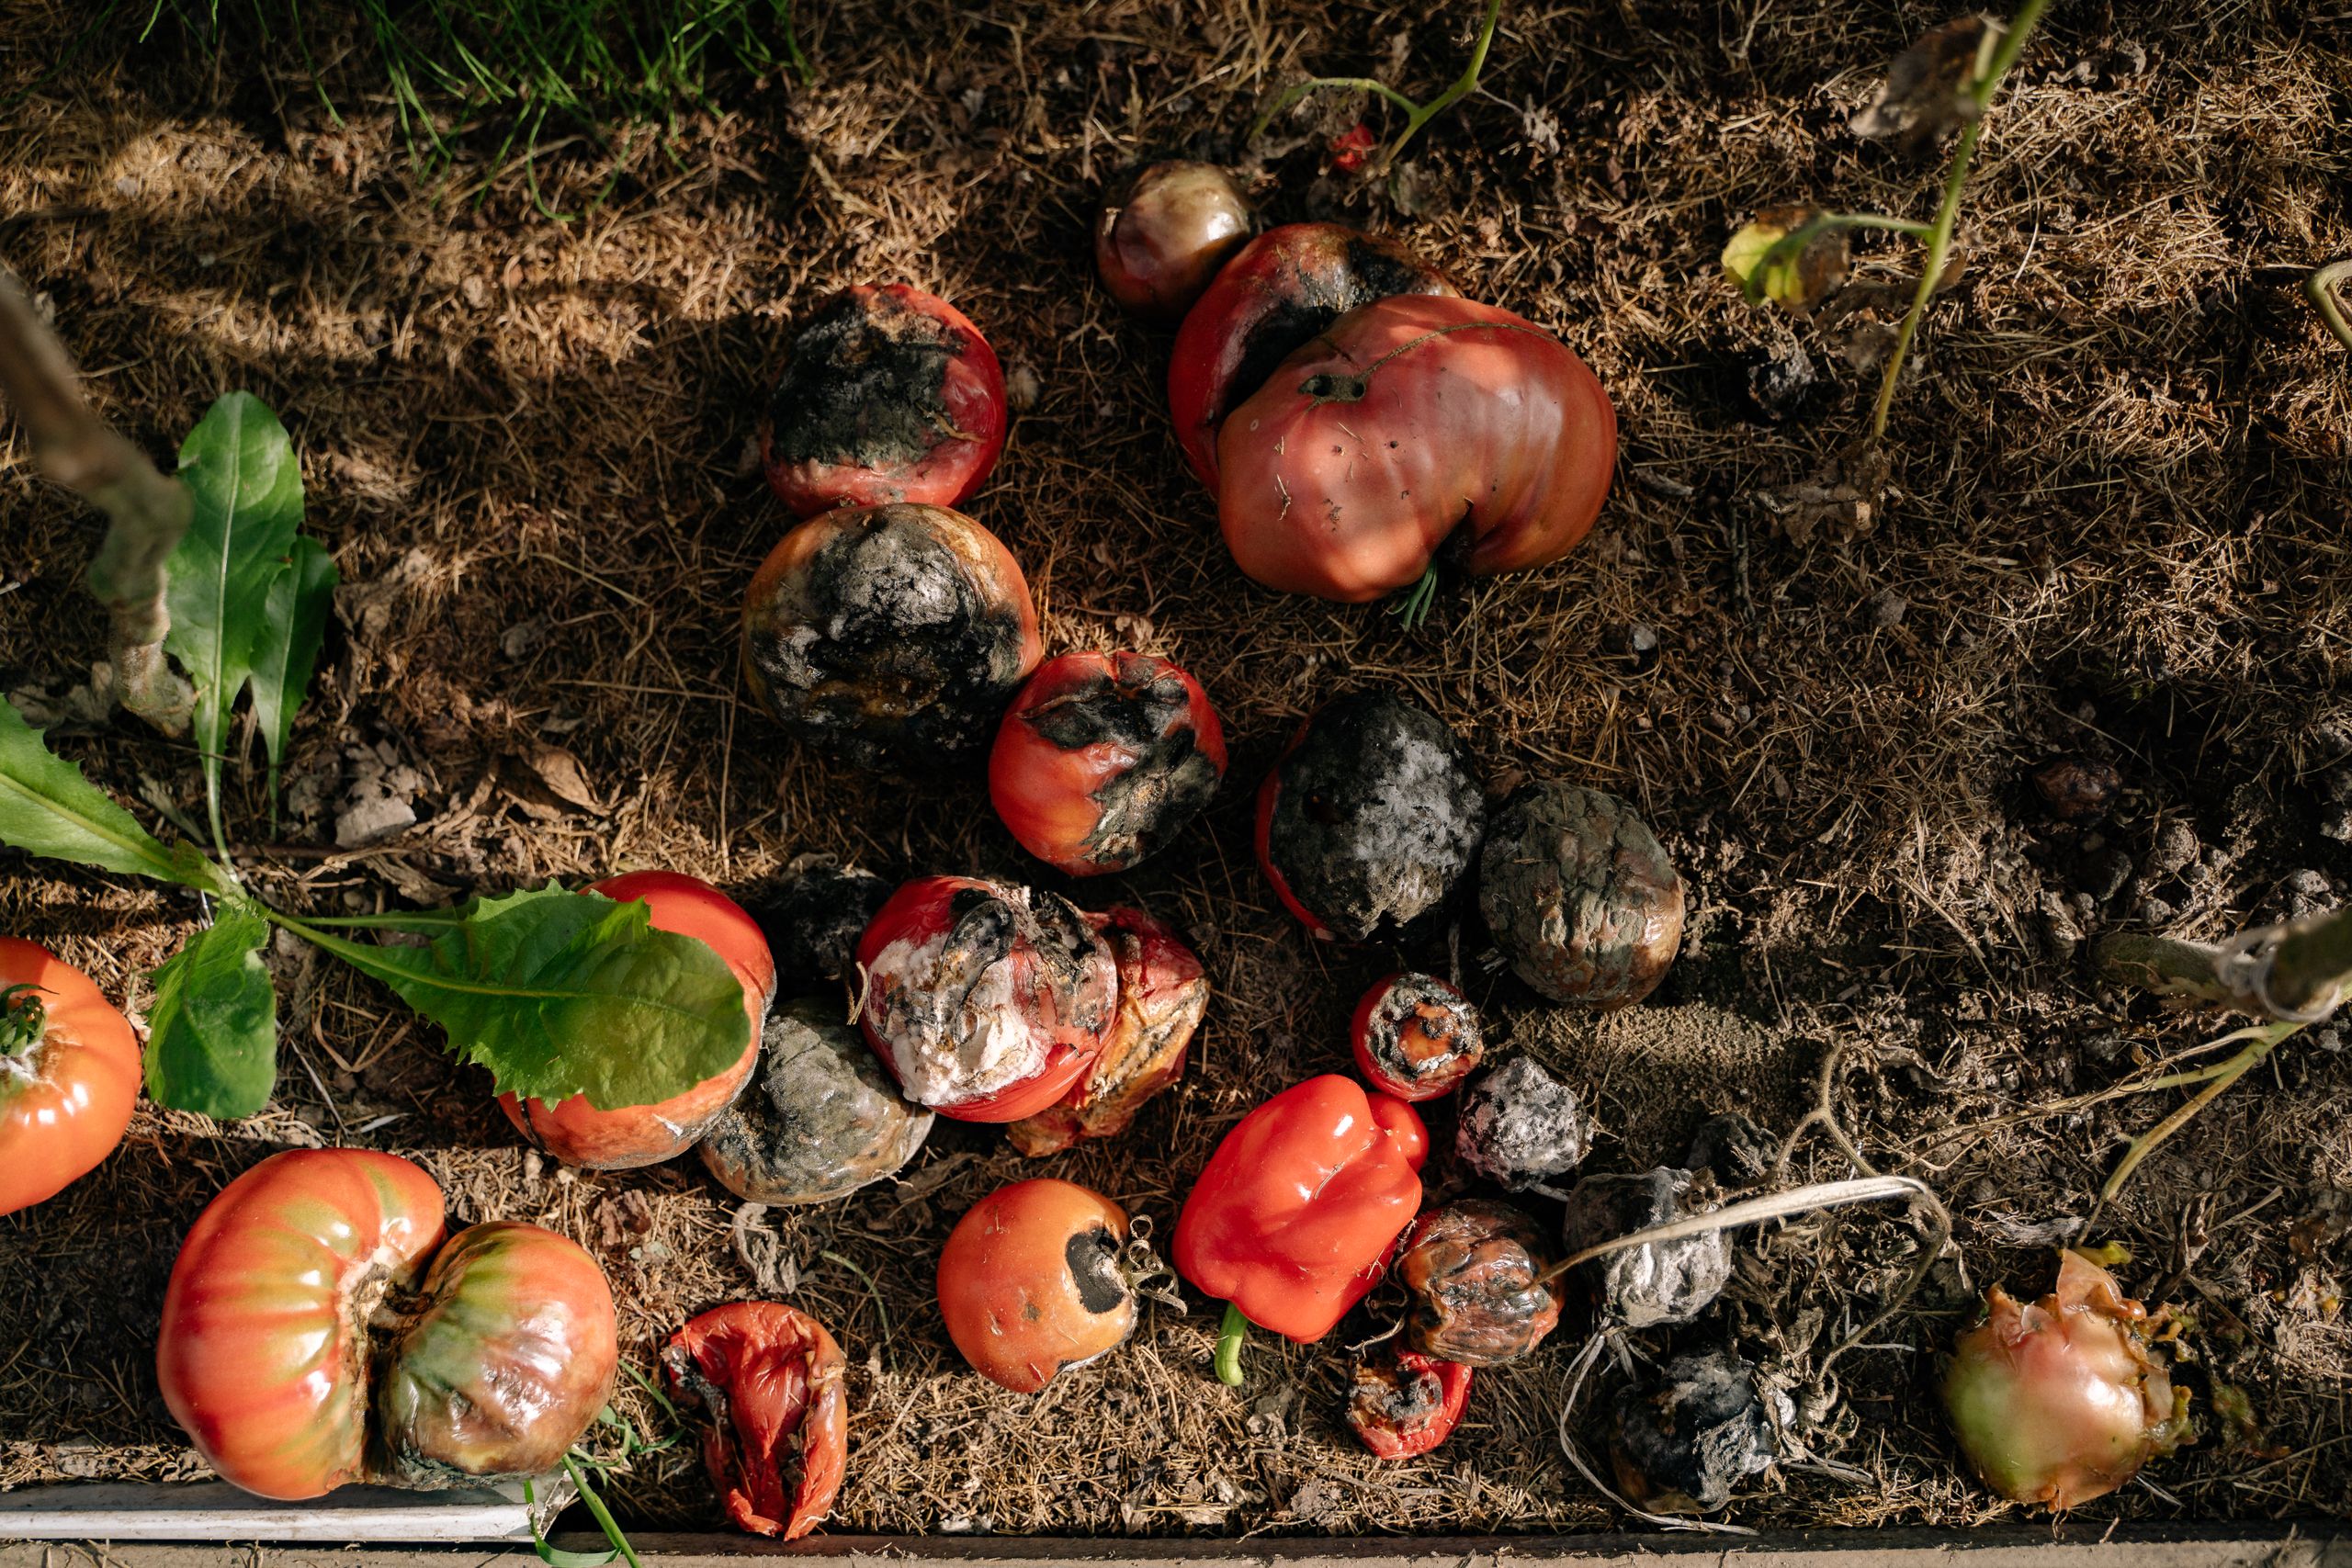
Too Many Greens: The Nitrogen Trap
A compost pile overloaded with greens often runs out of oxygen.
When that happens, you may notice:
- Rotten odors
- Slimy textures
- Excess moisture
- Increased pest activity
Nitrogen-rich materials break down rapidly and release moisture.
Without enough carbon-rich material to absorb that moisture and maintain airflow, the pile can become a soggy mess.
Too Many Browns: The Carbon Stall
A pile overloaded with browns often appears lifeless.
Signs include:
- Slow decomposition
- Dry conditions
- No noticeable heat
- Materials remaining unchanged for months
Without sufficient nitrogen, microbial populations struggle to grow and decomposition slows dramatically.
The Ideal Compost Ratio
Many composting guides recommend a Carbon-to-Nitrogen ratio of approximately 30:1.
Fortunately, you don’t need a calculator or a chemistry degree to compost successfully.
For practical homestead composting, follow this simple guideline:
The Easy Bucket Rule:
For every bucket of kitchen scraps you add, mix in two to three buckets of dry leaves, shredded cardboard, or other brown materials.
That’s usually close enough to keep your compost healthy.
Better yet, let your pile tell you what it needs.
Let Your Compost Be Your Guide
If your pile smells bad:
Add more browns.
If your pile is slimy:
Add more browns.
If your pile looks dry and inactive:
Add more greens and a little water.
If your pile smells earthy and gradually shrinks:
You’re doing it right.
Signs Your Compost Is Healthy
You don’t need a steaming-hot compost pile to create excellent compost.
Even a slower “cold compost” pile can produce beautiful organic matter.
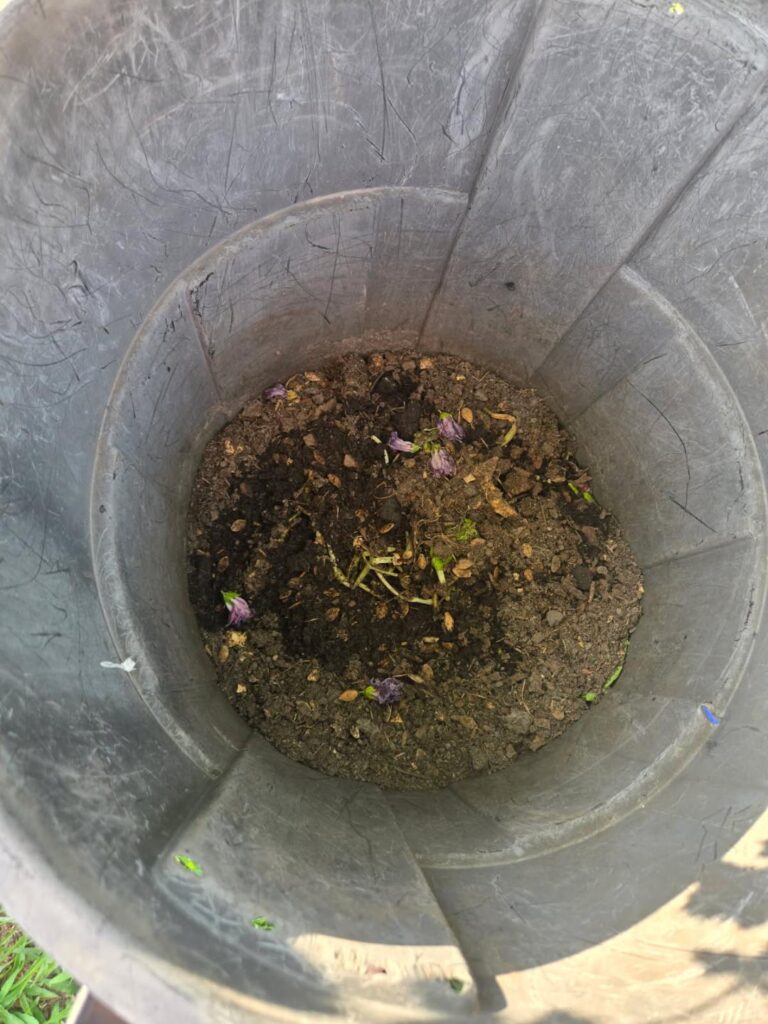
Healthy compost piles typically:
- Smell like fresh soil or a forest floor
- Feel damp like a wrung-out sponge
- Shrink over time
- Show fewer recognizable food scraps each week
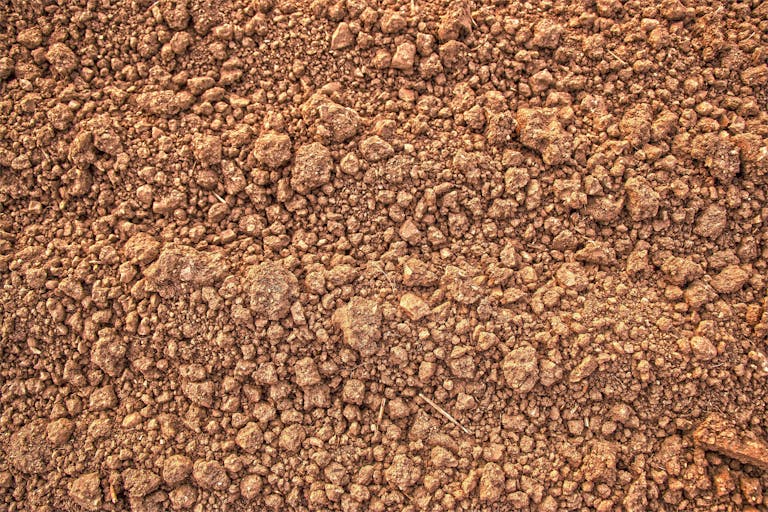
- Gradually turn dark and crumbly
Those are all signs that nature is doing exactly what it’s supposed to do.
A Simple 5-Step Composting Routine
If you’re just getting started, keep things simple.
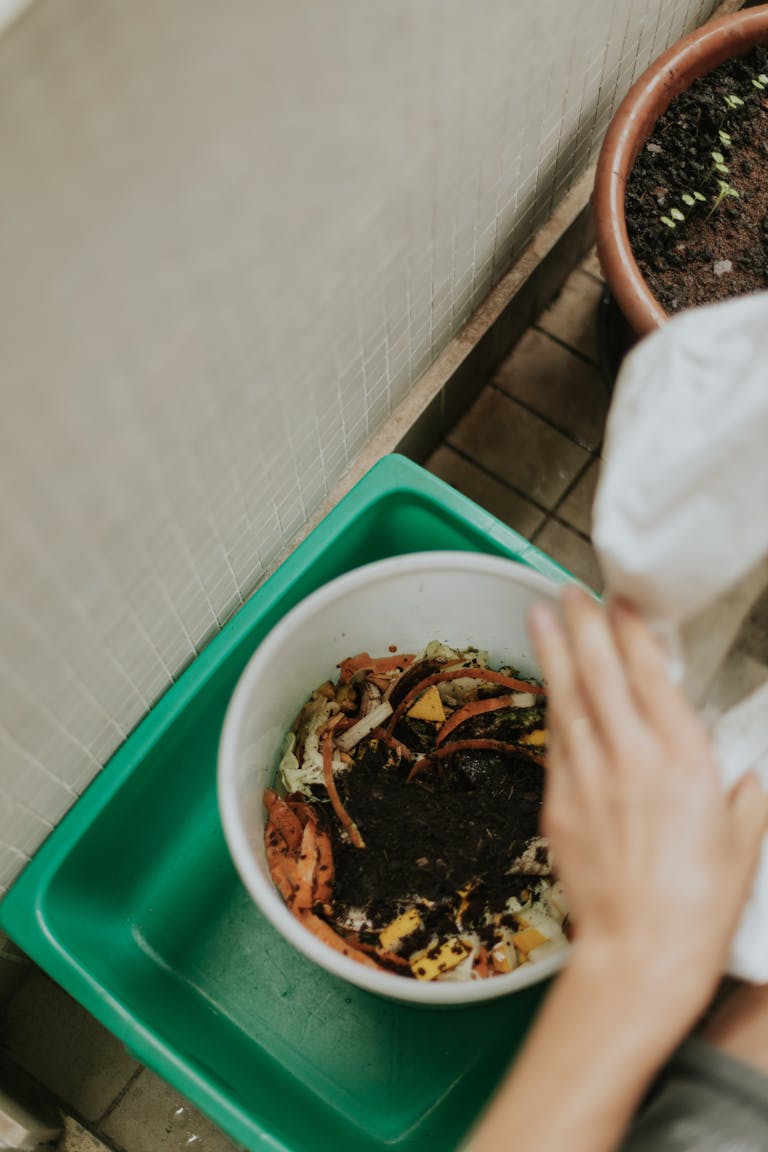
1. Collect
Save kitchen scraps, coffee grounds, and other compostable greens in a countertop container.
2. Dump
Transfer those materials to your outdoor compost pile or bin.
3. Cover
Immediately add twice as much brown material as green material.
Keeping a tote of shredded cardboard near your compost bin makes this step easy.
4. Moisten
Maintain moisture levels similar to a wrung-out sponge.
If the pile becomes dry, add water.
5. Turn
Every week or two, turn the pile to introduce fresh oxygen.
If you forget, don’t worry.
The compost will still break down—it just may take longer.
Common Beginner Mistakes to Avoid
Balancing browns and greens solves most composting problems, but it’s not the only factor.
In our next guide, we’ll cover the most common mistakes that prevent compost piles from succeeding, including:
- Adding the wrong materials
- Poor moisture management
- Insufficient airflow
- Compost piles that never heat up
Be sure to read 7 Common Composting Mistakes Beginners Make to avoid the frustrations that discourage many first-time composters.
Final Thoughts
Successful composting isn’t about perfection.
It’s about creating the basic conditions that allow nature to do what it already does best.
By learning how to balance browns and greens, you’ll avoid the most common composting problems, reduce household waste, and create nutrient-rich organic matter that improves your soil year after year.
The next time you head out to the compost bin with a bucket of vegetable peels, remember the simplest rule in composting:
Don’t forget the browns.