7 Common Composting Mistakes Beginners Make (And How to Fix Them)
One of the biggest myths about composting is that it’s difficult.
In reality, composting is one of the most forgiving skills a homesteader can learn. Nature has been breaking down organic matter for millions of years without our help.
That said, there are a handful of common mistakes that can slow the process, create unpleasant odors, attract pests, or leave you wondering why your compost pile seems stuck.
The good news? Every one of these problems has a simple solution.
If your compost pile isn’t behaving the way you expected, chances are you’re making one of these seven beginner mistakes.
Quick Answer: Why Isn’t My Compost Working?
Most composting problems can be traced back to one of four issues:
- Too many greens
- Too many browns
- Too much moisture
- Too little airflow
Fixing these basic imbalances solves the majority of composting problems without requiring expensive equipment, commercial compost starters, or specialized tools.
The Good News: We’ve All Done It
My first compost pile managed to suffer from several of these mistakes at the same time.
I enthusiastically dumped kitchen scraps into the pile every day, barely added any dry materials, and assumed nature would handle the rest. Within a few weeks, the pile was soggy, smelly, and attracting every curious creature in the neighborhood.
At the time, I thought composting was far more complicated than people claimed.
The truth was much simpler.
The pile didn’t need expensive additives or a fancy compost tumbler. It simply needed a better balance of browns, greens, moisture, and airflow.
Most beginner composting problems are solved just as easily.
Mistake #1: Forgetting the Browns
This is by far the most common beginner mistake.
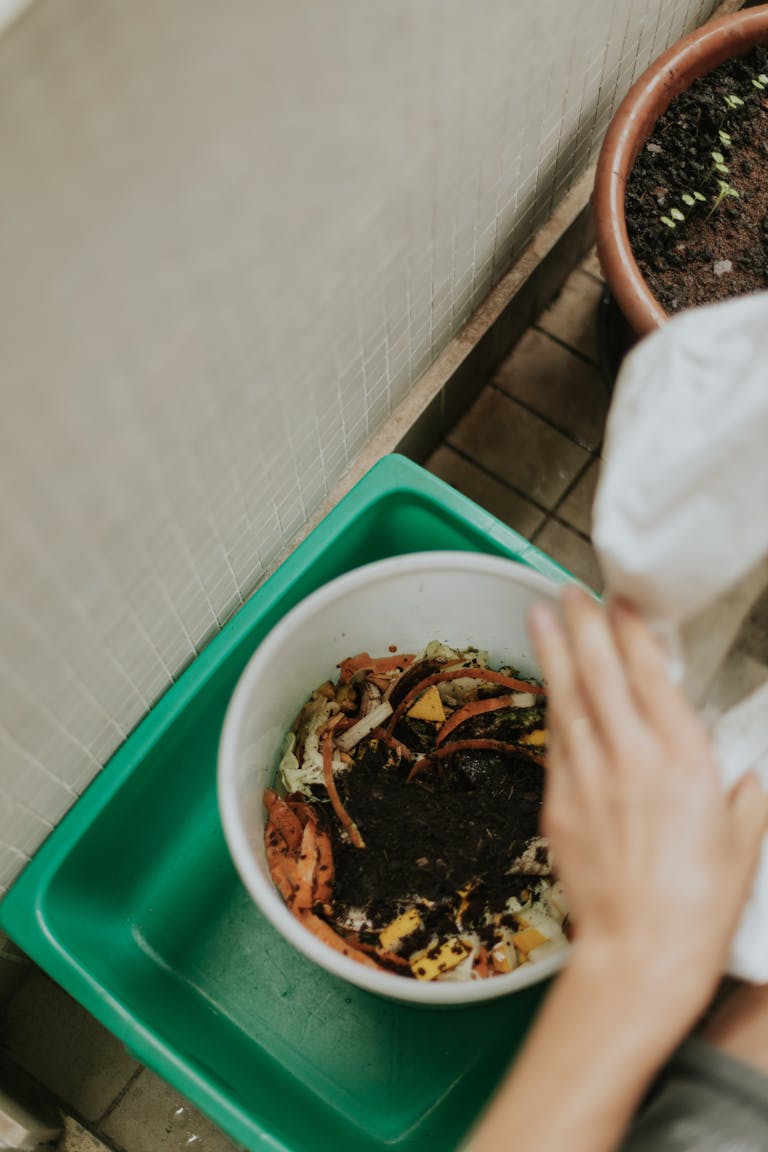
Many people enthusiastically toss fruit peels, vegetable scraps, coffee grounds, and grass clippings into their compost pile without adding enough carbon-rich materials.
The result?
- Bad smells
- Slimy textures
- Excess moisture
- Poor airflow
The Fix
For every bucket of kitchen scraps, add two to three buckets of brown materials such as:
- Dry leaves
- Shredded cardboard
- Paper egg cartons
- Untreated sawdust
- Straw
A healthy compost pile needs both carbon and nitrogen to function properly.
Related Reading: Browns vs. Greens: The Secret to Successful Compos
Mistake #2: Letting the Pile Become Too Dry
Some beginners assume compost should stay dry to avoid odors.
Unfortunately, dry compost doesn’t decompose very well.
Microorganisms require moisture to survive and perform their work.
Signs Your Pile Is Too Dry
- Little or no decomposition
- Dry, dusty materials
- No noticeable heat
- Materials remaining unchanged for months
The Fix
Your compost should feel similar to a wrung-out sponge.
If the pile feels dry:
- Add water gradually
- Mix in fresh green materials
- Turn the pile to distribute moisture evenly
A little moisture goes a long way.
Mistake #3: Making the Pile Too Wet
The opposite problem is equally common.
Heavy rainfall, excess food scraps, or too many grass clippings can turn a compost pile into a soggy mess.
When water fills the air spaces inside the pile, beneficial aerobic microbes struggle to survive.
Signs Your Pile Is Too Wet
- Rotten odors
- Slimy material
- Standing water
- Pest activity
The Fix
Add dry brown materials such as:
- Shredded cardboard
- Dry leaves
- Straw
Then turn the pile thoroughly to restore airflow.
If possible, cover the pile during periods of heavy rain.
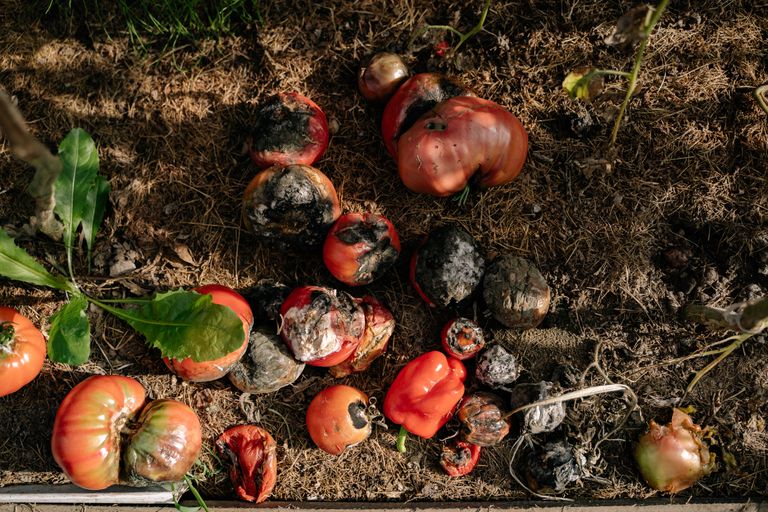
Mistake #4: Adding the Wrong Materials
Not everything organic belongs in a backyard compost pile.
Some materials attract unwanted pests, create severe odors, or introduce harmful pathogens.
Avoid Adding
Meat, Dairy, Cooking Oils, and Greasy Foods
While biodegradable, these materials decompose slowly in most backyard compost piles. They also create strong odors and attract raccoons, rodents, opossums, and stray animals.
Dog and Cat Waste
Carnivore and omnivore waste can contain parasites and pathogens that survive standard composting temperatures.
Diseased Plants and Weeds Gone to Seed
Unless your pile consistently reaches high temperatures, these problems can survive the composting process and return to your garden later.
The Fix
Stick primarily to:
- Fruit scraps
- Vegetable scraps
- Coffee grounds
- Yard waste
- Dry carbon materials
Homestead Tip: While dog and cat waste should stay out of the compost pile, manure from healthy plant-eating animals such as chickens, rabbits, goats, alpacas, sheep, and horses is often considered composting gold. Many homesteaders intentionally add these materials to speed decomposition and improve finished compost. Crushed eggshells are another excellent addition that helps return calcium to the soil.
Mistake #5: Leaving Materials Too Large
A whole pumpkin will eventually compost.
The problem is that it may take a very long time.
Large pieces provide less surface area for microbial activity, slowing decomposition considerably.
The Fix
Break down larger materials whenever possible.
- Shred cardboard and paper products
- Chop garden debris and stalks
- Crush eggshells
- Cut large vegetable scraps into smaller pieces
You don’t need perfection, but smaller pieces generally break down faster.
When in doubt, leave it out.
Mistake #6: Expecting Compost Too Quickly
Many beginners start composting expecting finished compost within a few weeks.
Then they become discouraged when their pile still looks unfinished months later.
The truth is that composting speed depends on several factors:
- Temperature
- Moisture
- Material size
- Brown-to-green ratio
- Turning frequency
The Fix
Adjust your expectations.
A carefully managed hot compost pile may produce finished compost in just a few months.
A cold compost pile may take six months to a year—or longer.
Neither approach is wrong.
The important thing is that decomposition is happening.
Nature works on its own schedule.
Mistake #7: Obsessing Over Perfection
This may be the most important mistake of all.
Many beginners become overwhelmed by exact carbon-to-nitrogen ratios, temperature charts, compost thermometers, and conflicting advice online.
They become so worried about doing everything perfectly that they stop composting altogether.
The Fix
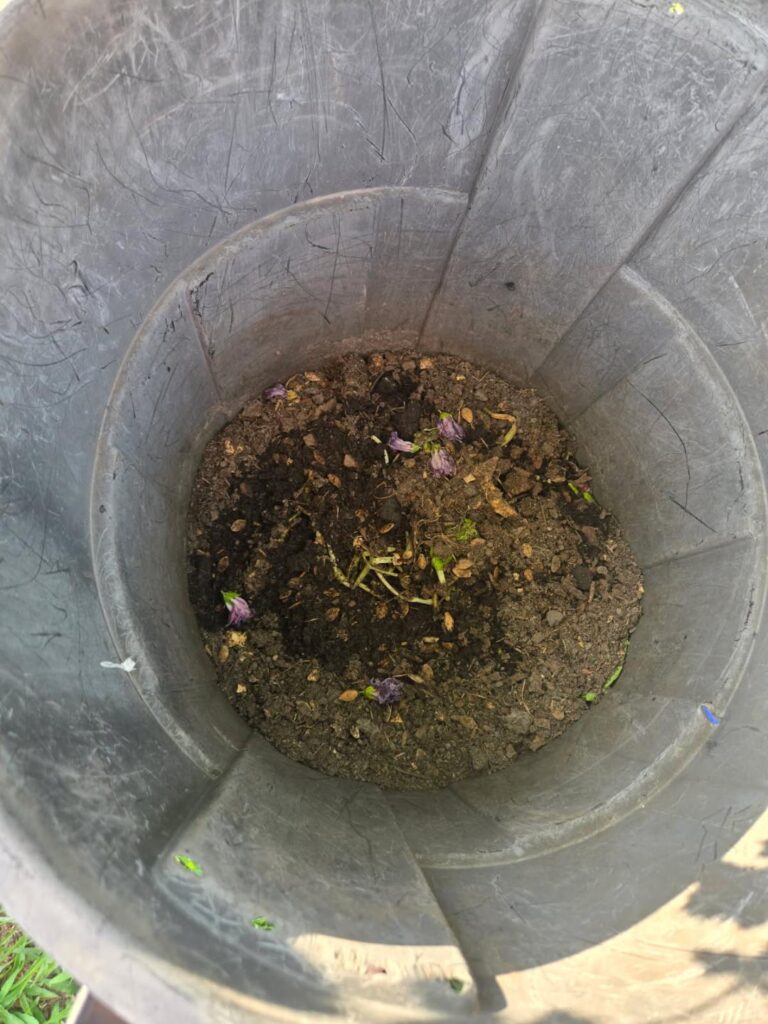
Remember what compost really is:
A controlled pile of organic matter that nature is already trying to break down.
If you:
- Add a mix of browns and greens
- Keep it moderately moist
- Avoid problematic materials
You’re already doing most things right.
Composting is learned through observation and experience—not perfection.
Compost Troubleshooting Cheat Sheet
| Problem | Likely Cause | Quick Fix |
|---|---|---|
| Bad smell | Too many greens, animal products, or excess moisture | Remove problem materials, add browns, and turn the pile |
| Slimy texture | Excess nitrogen and moisture | Add dry leaves, straw, or shredded cardboard |
| Dry and inactive | Not enough moisture | Add water gradually and mix in fresh greens |
| Slow decomposition | Too many browns or large materials | Add greens, chop materials smaller, and turn the pile |
| Pests visiting pile | Exposed food scraps or prohibited materials | Bury scraps under browns and avoid meat or dairy |
Final Thoughts
Every experienced composter has made mistakes.
The difference is that they stayed with it long enough to learn from them.
If your compost pile smells bad, stalls out, or doesn’t look the way you expected, don’t assume you’ve failed. Compost is remarkably forgiving, and most problems can be corrected with a few simple adjustments.
Start simple.
Pay attention to what your pile is telling you.
Make small corrections as needed.
Before long, you’ll be producing rich, crumbly compost that improves your soil, reduces household waste, and supports a more self-sufficient homestead.
And if you’re still wondering when you’ll finally have usable compost in your hands, that’s exactly what we’ll cover next.
Read next: How Long Does Compost Take? Understanding the Composting Timeline
In that guide, we’ll break down what affects composting speed, how long different methods typically take, and the unmistakable signs that your compost is finally finished and ready for the garden.