8 Baby Chick Mistakes Every Beginner Makes (And How to Skip the Panic)
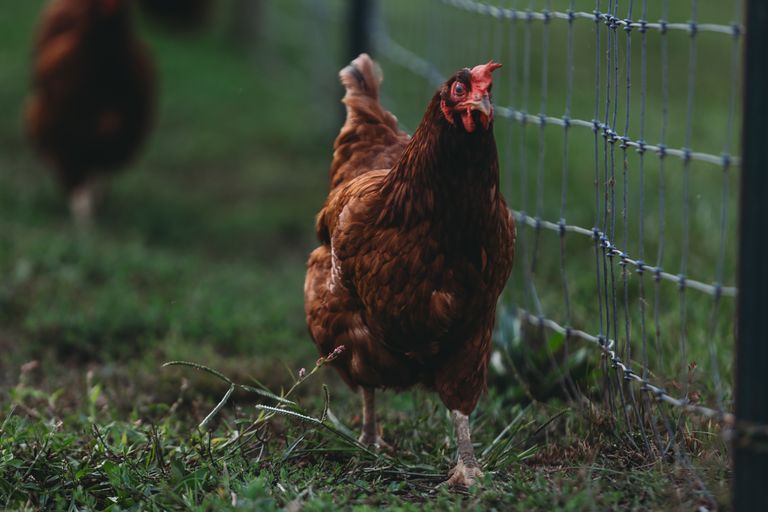
There’s nothing quite like the day you bring home your first box of peeping baby chicks.You walk into the local feed store, and it hits you: that unmistakable smell of pine shavings, fresh feed, and possibility. Everyone’s excited. On the drive home, you’re already imagining a simpler kind of life—one filled with fresh eggs, happy hens scratching in the yard, and a slower, more intentional rhythm.
Then, about three days later, reality knocks on the door.
One chick looks a little too sleepy. Another has droppings stuck to its backside. The waterer is full of wet bedding. The brooder smells strange, and you suddenly realize these tiny, fragile creatures are a far cry from the hardy laying hens you pictured.
Take a deep breath.
Every experienced chicken keeper has been there.
For generations, families learned how to raise poultry through observation, practice, and plenty of trial and error.
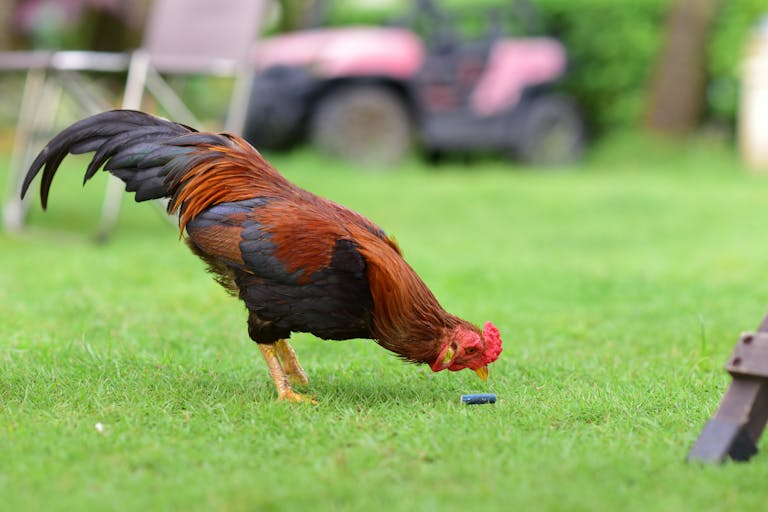
Backyard chickens weren’t a hobby—they were part of everyday life. A healthy flock meant eggs on the table, meat in the freezer, and one more skill that helped a household stand on its own.
The good news? Most beginner mistakes are completely avoidable once you know what to watch for.
Here are eight of the most common mistakes new chicken keepers make—and how to avoid them.
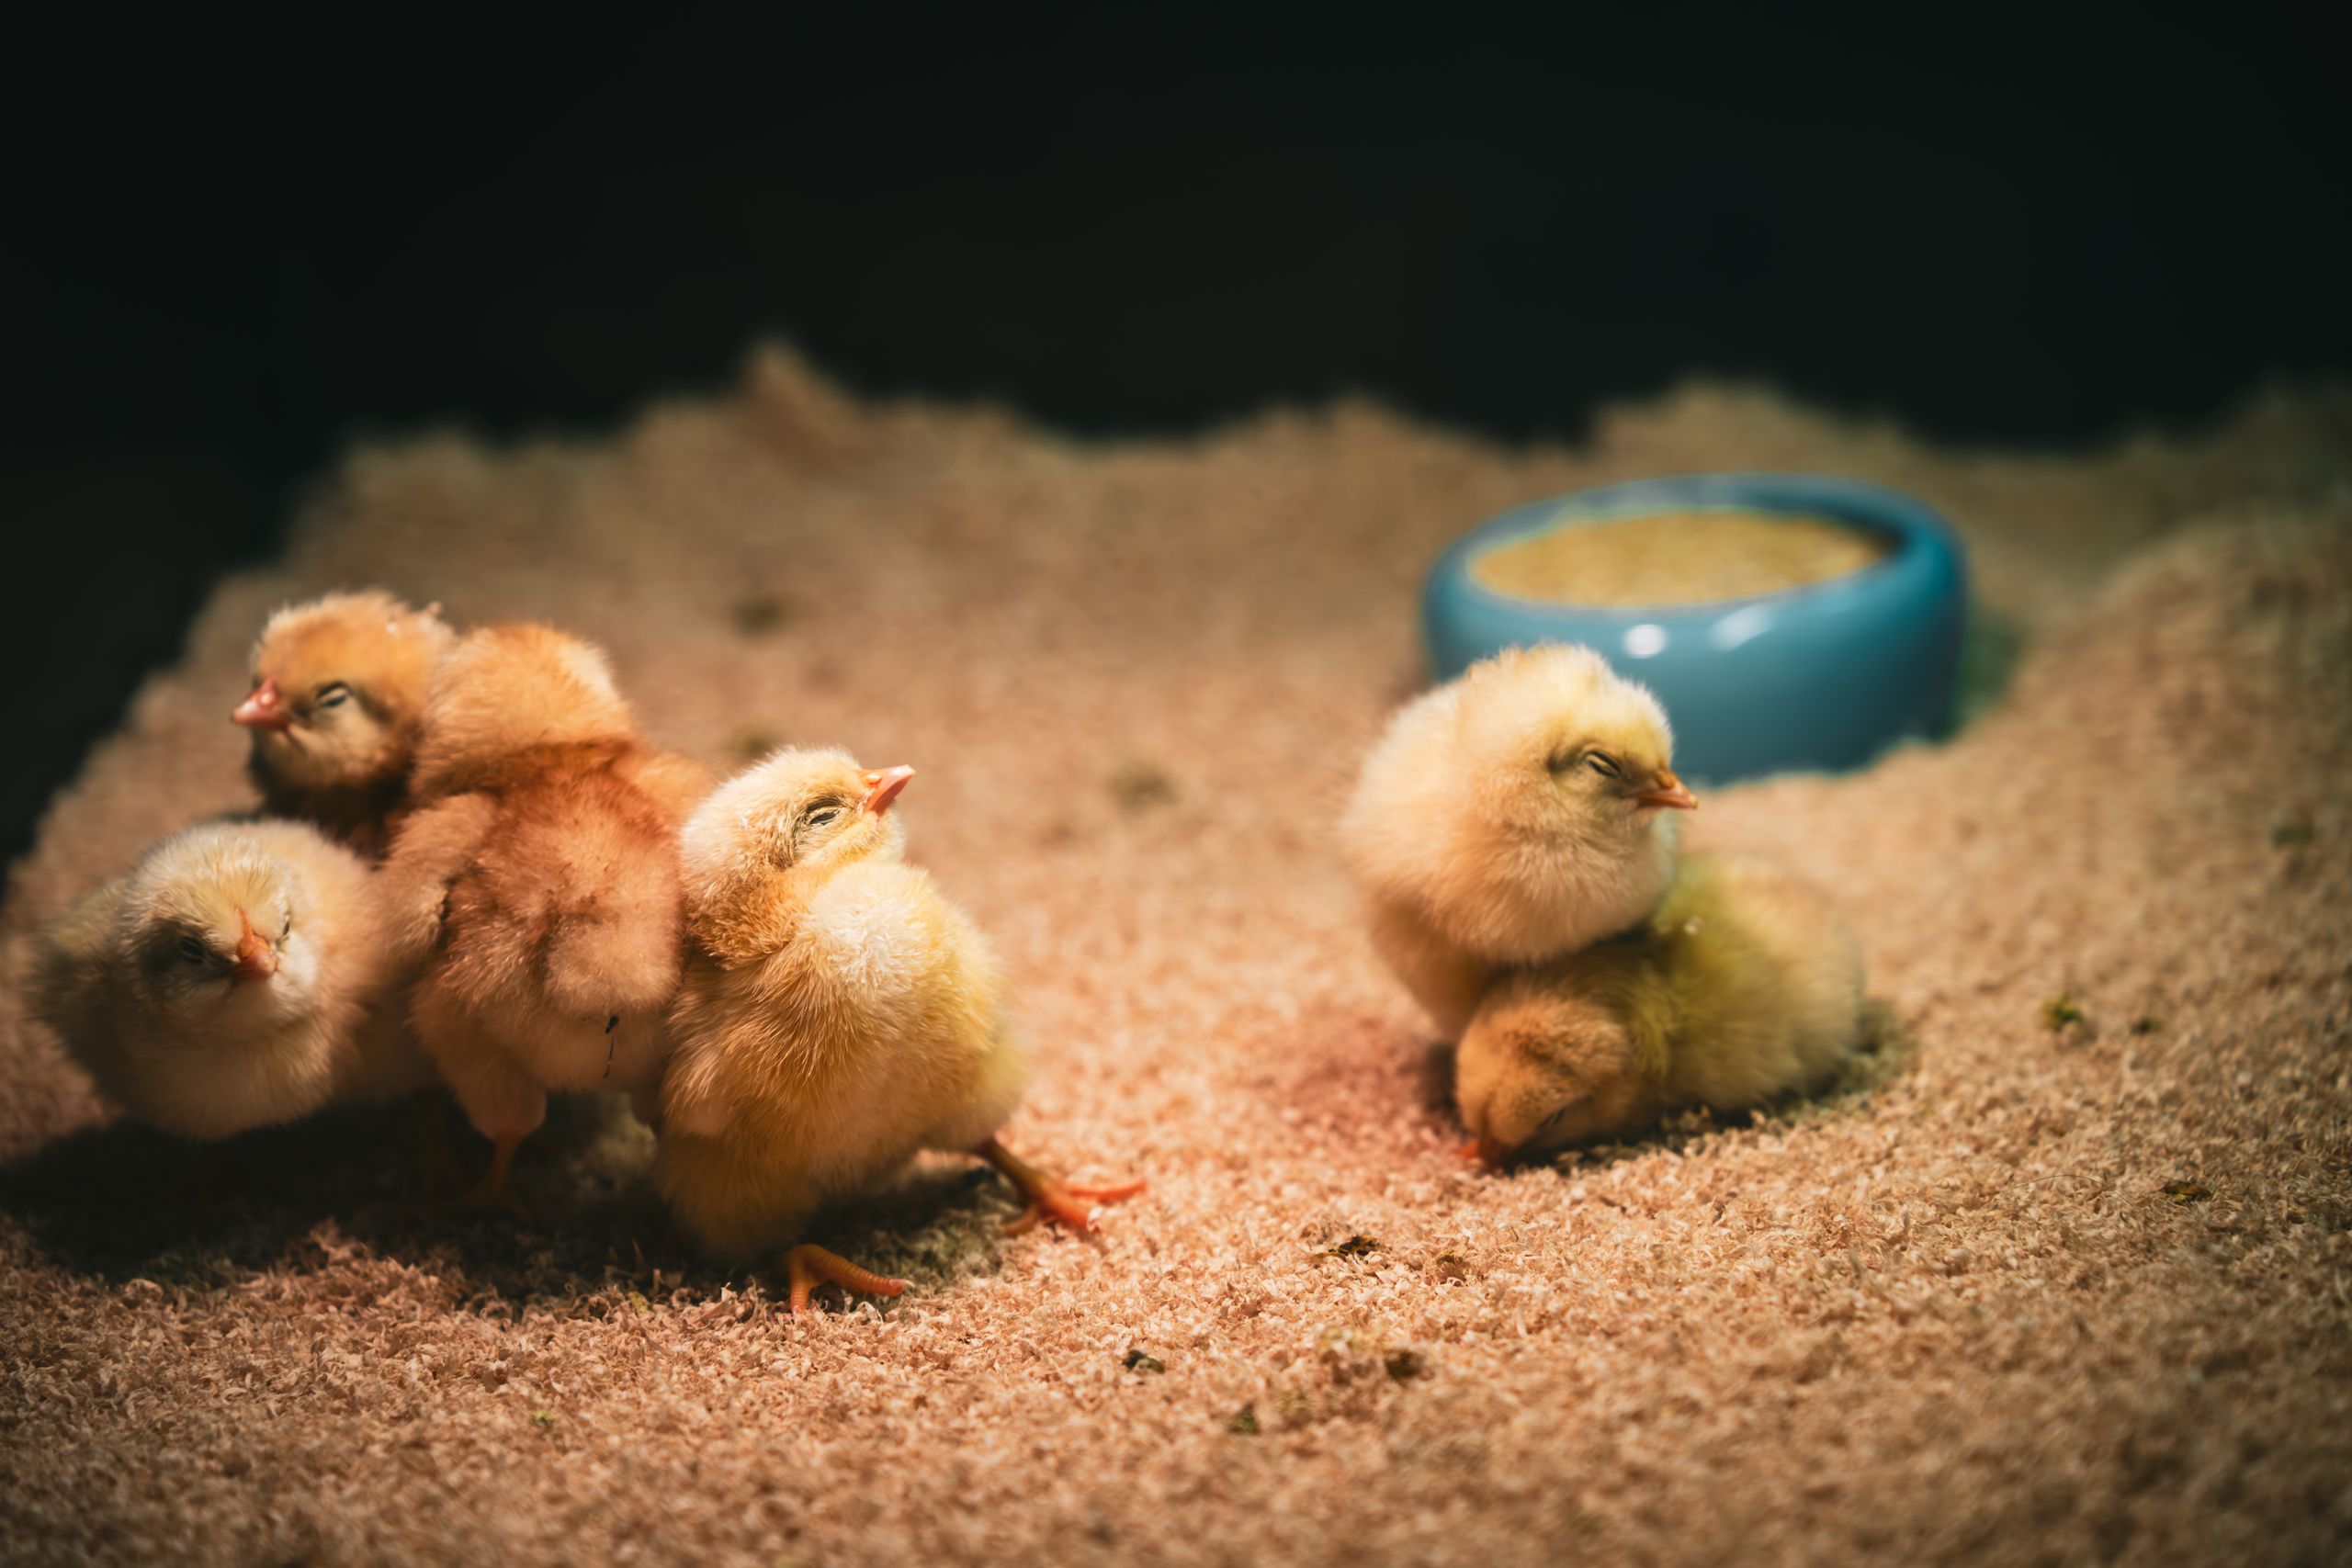
1. Obsessing Over the Thermometer Instead of Watching the Birds
Temperature problems are one of the fastest ways to stress baby chicks. Because they haven’t grown their true feathers yet, they can’t regulate their body temperature the way adult chickens can. The standard recommendation is to start chicks at approximately 95°F during their first week and reduce the temperature by about 5 degrees each week as they mature. But here’s the secret experienced poultry keepers learn: the chicks themselves are often a better indicator than the thermometer.
• Too cold: Chicks huddle tightly together beneath the heat source and chirp loudly.
• Too hot: Chicks spread to the farthest corners, pant, or hold their wings away from their bodies.
• Just right: Chicks are scattered throughout the brooder, eating, sleeping, and exploring normally.
The Golden Rule: Create a temperature gradient.
Place the heat source on one side of the brooder so chicks can move between warm and cool areas as needed.
If you’re using a traditional heat lamp, secure it with multiple attachment points—not just the factory clamp. Heat lamps have been responsible for numerous barn, coop, and garage fires over the years.
Many modern homesteaders now prefer brooder heating plates. They use less electricity, greatly reduce fire risk, and allow chicks to warm themselves naturally by moving underneath the plate when they need heat.
2. Setting the Stage on Slick Flooring
Baby chicks need traction. During their first few weeks, their bones, muscles, and joints are still developing. If they spend time on slippery surfaces such as newspaper, smooth cardboard, or slick plastic, their legs can slide out from underneath them. This may contribute to a condition known as spraddle leg, where the legs splay outward and make normal movement difficult.
• Skip: Newspaper, glossy advertisements, and smooth plastic surfaces.
• Use instead: Pine shavings, textured shelf liner, or other non-slip bedding.
Many experienced keepers place paper towels over the bedding during the first day or two. This provides excellent footing and makes it easy to monitor droppings while chicks settle into their new home.
One important note: avoid cedar shavings.
Cedar contains aromatic oils that can irritate a chick’s sensitive respiratory system.
3. Letting the Waterer Become “Shavings Soup”
Baby chicks have a remarkable talent for turning clean water into a muddy mess.They scratch, hop, run, and somehow manage to kick bedding directly into their water several times a day. Dirty water creates the perfect environment for bacteria and can quickly contribute to health problems.Check and refresh water frequently. During the first few weeks, that may mean multiple times each day.
Pro Tip: Elevate the waterer on a flat brick, tile, or small board.
Raising it just an inch or two above the bedding dramatically reduces the amount of debris that ends up inside.
Also, avoid deep bowls. Chicks can become chilled or exhausted and may drown in surprisingly shallow water. A properly designed chick waterer is much safer.
4. Handing Out Treats Too Early
This one is hard because everyone wants to spoil their animals. You bring home adorable baby chicks and immediately want to share breadcrumbs, garden greens, or kitchen scraps.
Resist the temptation for a little while.
Think of baby chicks like toddlers. They need proper nutrition before they need snacks. High-quality chick starter feed is specifically formulated to provide the protein, vitamins, and minerals required for healthy growth.
More importantly, chickens don’t have teeth.To digest foods other than their starter crumble, they require grit—tiny stones stored in the gizzard that help grind food into digestible particles. Without access to grit, chicks may struggle to properly digest fibrous foods, increasing the risk of crop issues and digestive blockages.
For the first several weeks, keep things simple. Starter feed already contains everything they need to build strong bones, healthy feathers, and a robust immune system.
5. Underestimating How Fast They Grow
That roomy brooder you proudly set up on day one can feel crowded in a matter of weeks.
Chicks grow astonishingly fast.
As space becomes limited, stress levels rise. Overcrowding can contribute to feather pecking, bullying, poor air quality, and damp bedding conditions that increase the likelihood of illness. Healthy chicks need room to move, rest, eat, and get away from one another when necessary.
If the brooder starts looking crowded, don’t wait for problems to appear. Upgrade the space before stress-related behaviors begin.
6. Turning a Blind Eye to Pasty Butt
It isn’t glamorous, but it’s part of raising chicks.
Stress from shipping, dehydration, temperature fluctuations, or changes in environment can cause droppings to accumulate and harden around a chick’s vent. Chicken keepers call this condition “pasty butt.”
If left untreated, it can prevent normal elimination and quickly become life-threatening. A few moments of attention now can save you from heartbreak later.
During the first week, make a habit of checking each chick’s vent daily.
If you find a blockage:
1. Do not pull it off forcefully—you’ll tear their delicate skin.
2. Use warm water or a damp cloth to soften the hardened material.
3. Gently clean and clear the area.
4. Thoroughly dry the chick completely before returning it to the brooder so it doesn’t catch a chill.
7. Evicting Them to the Coop Too Soon
Every spring, warm weather arrives and new chicken keepers get impatient.
The chicks look bigger. They’re growing feathers. The coop is ready. Surely it’s time.
Usually, not quite.
Fluffy down is not the same thing as a full set of weather-resistant feathers. Most breeds need roughly six to eight weeks before they’re fully feathered and capable of handling cooler temperatures and changing weather conditions.
Start with supervised outdoor time on warm, sunny days. Let them experience grass, wind, and sunshine before bringing them back inside before evening temperatures drop. Once they are fully feathered and nighttime temperatures are consistently appropriate for their age, they can make the permanent move.
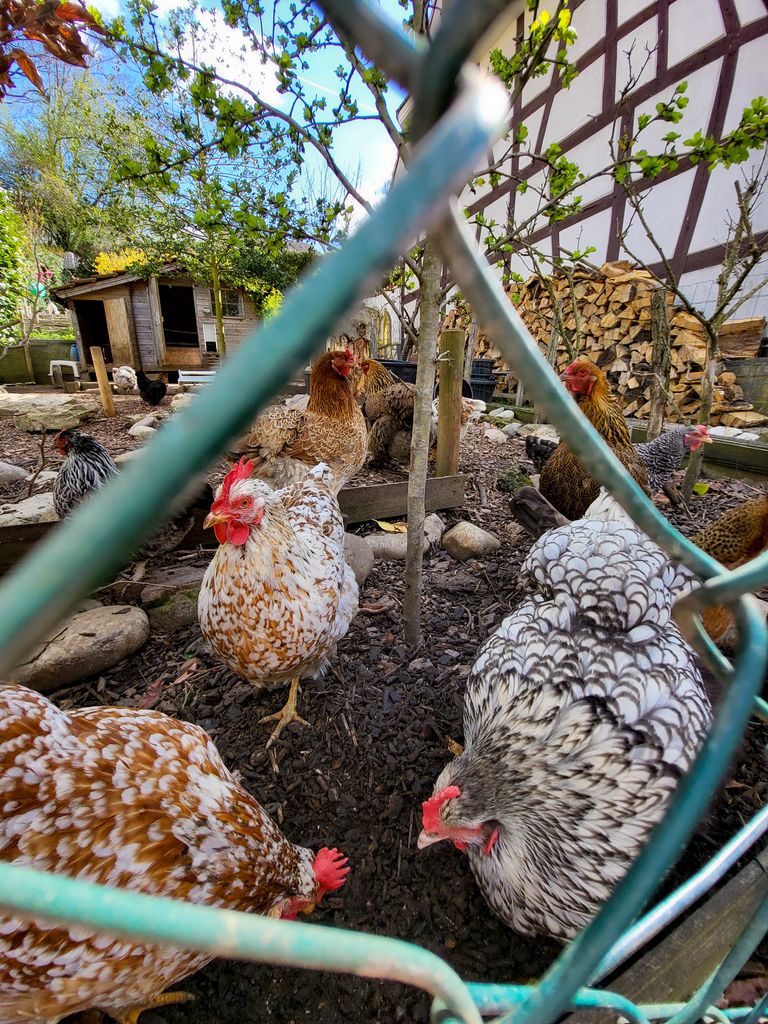
When that day comes, make sure your coop is built like Fort Knox.
Many beginners assume predators only hunt after dark. Unfortunately, that’s not true. Hawks hunt during daylight hours, raccoons can manipulate simple latches, stray dogs can destroy a flock in minutes, and weasels can squeeze through openings barely larger than a quarter. Before moving birds outdoors, walk around your coop and run as if you were a hungry predator searching for an easy meal. If you find a weakness, chances are something else will too.
One important note: chicken wire is designed to keep chickens in, not predators out.
For most permanent coops and runs, hardware cloth provides far better protection against determined predators.
8. Forgetting That Disease Can Ride In on Your Boots
Most beginners focus on food, water, and temperature.
Few think about biosecurity.
Yet disease often arrives because someone unknowingly carries it into the flock. A trip to the feed store, a visit to another poultry keeper, or contact with areas frequented by wild birds can expose footwear and clothing to bacteria, parasites, and viruses.
You don’t need elaborate, medical-grade procedures to protect a small homestead flock.
Simple habits go a long way:
• Wash your hands before and after handling chicks.
• Avoid unnecessary handling by visitors.
• Keep dedicated coop shoes or rubber boots when possible.
• Clean feeders and waterers regularly.
• Quarantine new birds before introducing them to an established flock.
Most disease prevention comes down to one simple principle: don’t give problems a free ride into your flock.
The Real Secret to Flock Care
Here’s something most feed bags won’t tell you:
You’re probably going to make a mistake or two.
Everyone does.
Even people who have raised chickens for decades occasionally face setbacks despite doing everything right. Livestock are living creatures, and living things can be unpredictable.
The goal isn’t perfection.
The goal is paying attention.
If you keep your chicks warm, dry, clean, fed, and protected, you’re already ahead of where many beginners start.
The best poultry keepers aren’t the ones with flawless coops or perfect social media photos. They’re the ones who notice when something seems off, make adjustments, and keep showing up every morning to care for their animals.
That’s how these old-fashioned skills have survived generation after generation—not through perfection, but through observation, practice, and a willingness to learn.
That’s how practical skills survive. One generation learns them, practices them, and passes them on to the next.
And that’s what Waste Not Want Not Homestead is all about: rediscovering the skills that turn a house into a home.
Waste Not Want Not Homestead Checklist: Your First Week With Chicks
Spend five minutes running through this list daily during the first crucial week to catch and prevent most beginner problems before they become emergencies:
✓ Check that all chicks are active, alert, and moving freely.
✓ Refresh food and water (and elevate that waterer if it’s full of “shavings soup”).
✓ Inspect backsides daily for any early signs of pasty butt.
✓ Scoop out and remove any wet or heavily soiled bedding immediately.
✓ Observe their behavior around the heat source to ensure they aren’t piling or panting.
✓ Listen closely for loud, persistent, or unusual distress chirping.
✓ Confirm that as the days pass, all chicks still have plenty of room to spread out comfortably.
Quick Reference FAQ
How do I know if my brooder temperature is right?
Don’t rely solely on the thermometer. Watch the chicks. Huddling usually indicates they’re cold, while panting and avoiding the heat source completely indicates they’re too warm. Active, evenly distributed chicks are the best sign that conditions are comfortable.
Can I use cedar shavings for bedding?
No. Cedar contains aromatic oils that can severely irritate a chick’s sensitive respiratory system. Pine shavings are the preferred, safer choice for your brooder.
Why is my chick’s vent blocked?
This condition, commonly called “pasty butt,” is often associated with stress, shipping, dehydration, or temperature fluctuations. Clean it gently with warm water and a cloth, then dry the chick thoroughly before returning it to the brooder. Do not pull the hardened material off forcefully.
When can my chicks eat grass or kitchen scraps?
Chicks should receive a high-quality starter feed as their primary diet for the first several weeks. If any treats are introduced before they are fully grown, appropriate chick grit should also be provided to help their gizzards digest those foods safely.